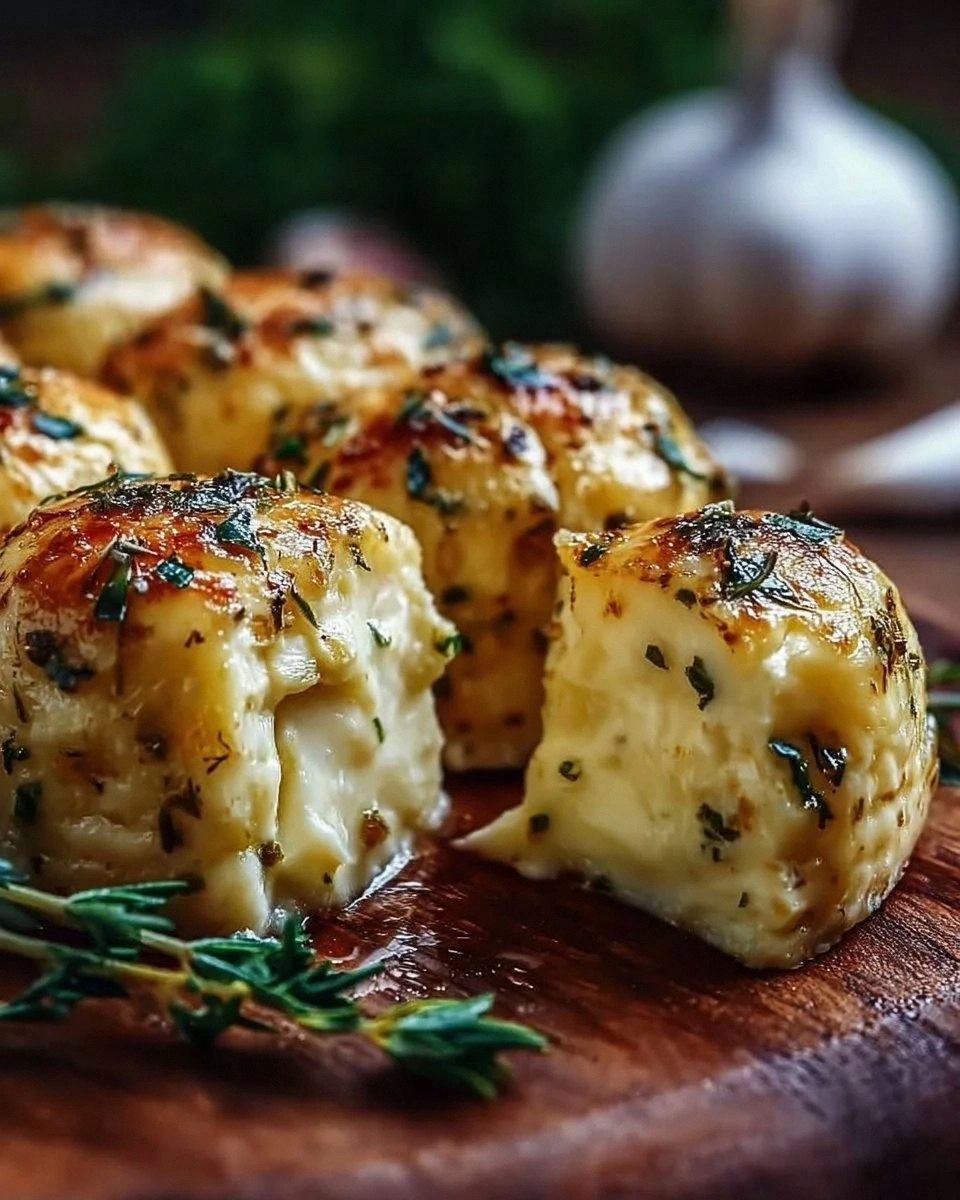
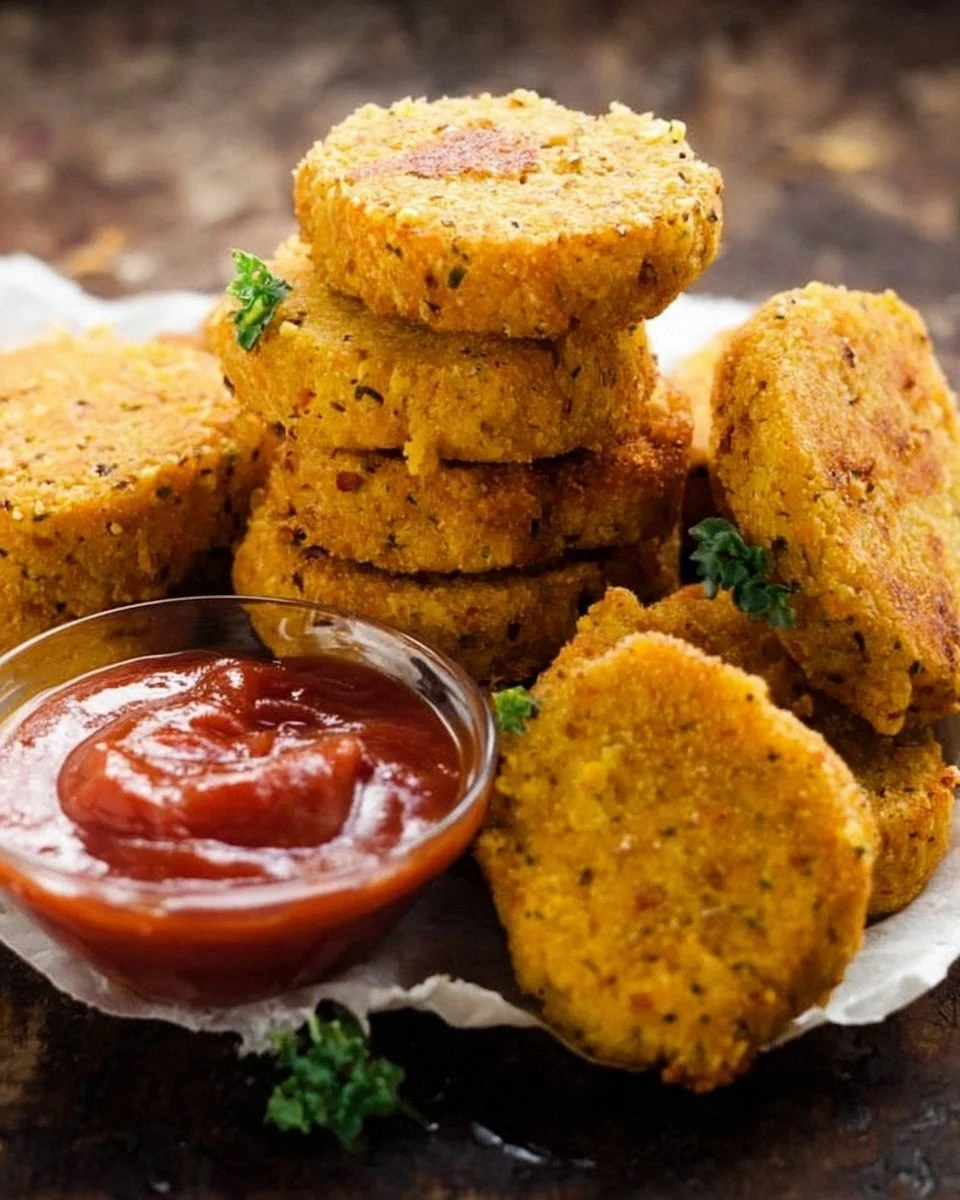
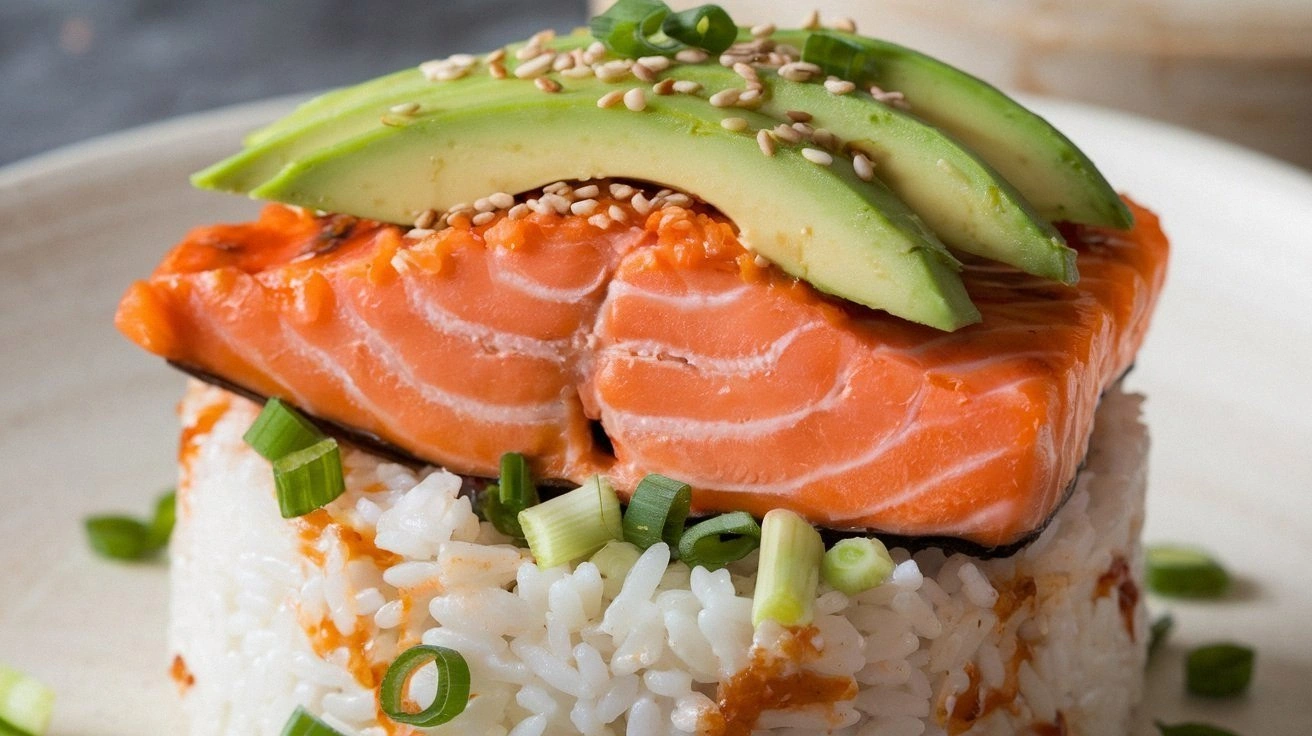
I’ll be honest — the first time I tried to make a dinner‑time pancake, I ended up with a soggy, flavorless pancake that clung to the pan like a bad habit. The kitchen was filled with the faint, apologetic smell of burnt butter, and I swore I’d never attempt a savory pancake again. Then a friend dared me, “Make a pancake that could stand on its own at a dinner table, not just a breakfast side.” I accepted the challenge, and the result was a revelation that turned my kitchen into a stage for culinary fireworks.
Picture yourself pulling a stack of golden‑brown pancakes from the skillet, the whole kitchen smelling like toasted butter, fresh herbs, and a whisper of caramelized onions. The edges are crisp enough to crack like thin ice, while the centers stay pillowy, almost buttery, with a subtle tang that makes you wonder why you ever settled for plain old breakfast pancakes at dinner. The first bite hits you with a savory depth that’s balanced by a hint of sweetness, a texture that’s both airy and satisfyingly dense, and a flavor that lingers like a well‑told story. I dare you to taste this and not go back for seconds; the moment the fork meets the pancake, you’ll be hooked.
What sets this version apart from every other pancake recipe you’ve ever Googled is the secret ingredient combo and the cooking method that creates a crust so perfect it could be mistaken for a professionally baked flatbread. Most recipes get this completely wrong, either over‑mixing the batter or cooking at the wrong temperature, leading to a rubbery mess. Here, I’m using a touch of buttermilk for that signature tang, a dash of melted butter for richness, and a quick rest for the batter that lets the gluten relax, creating a tender crumb. The technique of searing the first side over medium‑high heat, then finishing low and slow, is the game‑changer that gives you that coveted crispy edge.
I’m also throwing in a surprise that most home cooks overlook: a handful of finely chopped fresh herbs that add a burst of garden‑fresh flavor, and a sprinkle of grated Parmesan that caramelizes into a nutty crust. This isn’t just a pancake; it’s a canvas for toppings, a side that can hold up to hearty gravies, or even a base for a light salad. Okay, ready for the game‑changer? Let me walk you through every single step — by the end, you’ll wonder how you ever made it any other way.
What Makes This Version Stand Out
- Flavor: The buttermilk‑and‑herb blend delivers a tangy, aromatic profile that outshines plain pancakes.
- Texture: A crisp, caramelized edge meets a cloud‑like interior, creating a delightful contrast in every bite.
- Simplicity: Only ten core ingredients, all pantry‑friendly, yet the result feels gourmet.
- Uniqueness: Fresh herbs and Parmesan add a savory twist you won’t find in traditional sweet pancake recipes.
- Crowd Reaction: Guests often claim they’re eating a “savory crepe” and ask for the recipe twice.
- Ingredient Quality: Using real butter and high‑quality flour makes a noticeable difference in flavor depth.
- Cooking Method: The two‑stage heat technique ensures even browning without burning.
- Make‑Ahead Potential: Batter can rest for up to an hour, allowing you to prep ahead of a dinner rush.
Inside the Ingredient List
The Flavor Base
All‑purpose flour is the backbone, providing structure while keeping the pancake light. Using a high‑protein flour gives a little extra chew, which is perfect for a dinner‑style pancake that needs to hold up to sauces. If you skip the flour, you’ll end up with a soggy mess that can’t stand on its own. For a gluten‑free twist, try a blend of rice flour and tapioca starch, but expect a slightly different texture.
The Texture Crew
Buttermilk adds acidity that reacts with the baking powder, creating tiny air pockets that lift the batter. The melted butter contributes richness and helps develop that golden crust. Eggs act as binders, ensuring the pancake stays together while adding a subtle silkiness. If you’re out of buttermilk, a mix of milk and a tablespoon of lemon juice or vinegar works in a pinch.
The Unexpected Star
Fresh herbs—think flat‑leaf parsley, chives, or even a hint of dill—infuse the batter with a garden‑fresh brightness that cuts through the richness. A modest handful (about two tablespoons) is enough; too much can overwhelm the delicate balance. If you’re not a herb person, a pinch of smoked paprika can provide a smoky depth without the green specks.
The Final Flourish
A generous sprinkle of grated Parmesan cheese on top before flipping adds a nutty, caramelized crust that’s pure magic. It melts into the surface, creating a flavor layer that’s both salty and slightly sweet from the Maillard reaction. Skipping this step means missing out on the signature crunch that makes these pancakes unforgettable. For a dairy‑free version, a sprinkle of nutritional yeast can mimic the umami punch.
Everything's prepped? Good. Let's get into the real action…
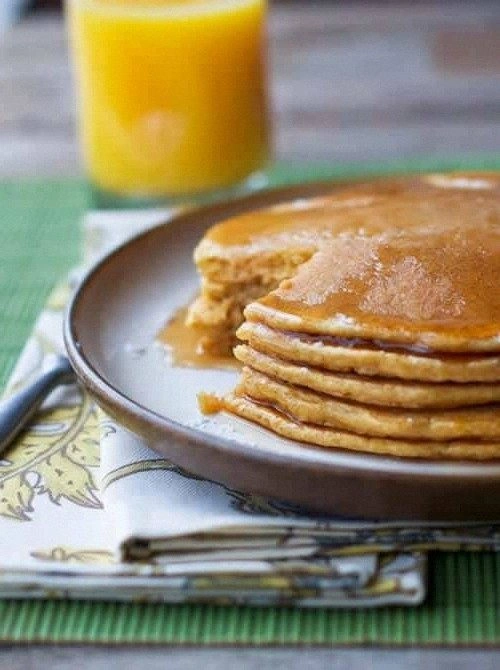
The Method — Step by Step
In a large mixing bowl, whisk together the flour, baking powder, baking soda, sugar, and salt. This dry blend should look uniform, with no clumps, and the aroma of the leavening agents will already start to tease your nose. Tip: Sifting the flour once helps avoid lumps later on. The moment you see a fine, even dust, you know you’re on the right track.
In a separate bowl, beat the eggs, then stir in the buttermilk, melted butter, and vanilla extract. The mixture will look glossy and slightly thick, a perfect marriage of wet ingredients. Watch Out: If the butter is too hot, it can cook the eggs, leading to a curdled batter. Let the butter cool to a warm, not hot, temperature before mixing.
Create a well in the center of the dry ingredients and pour the wet mixture in. Using a rubber spatula, gently fold the batter until just combined; a few streaks of flour are okay. Over‑mixing will develop gluten, resulting in a tough pancake.
Kitchen Hack: Add the chopped herbs at this stage and give the batter one quick swirl to keep the green specks evenly distributed.Let the batter rest for 10‑15 minutes on the counter. This pause allows the flour to fully hydrate and the leavening agents to start their chemical dance. You’ll notice the batter thickening slightly; that’s a good sign. While you wait, preheat a non‑stick skillet over medium‑high heat and melt a thin pat of butter to coat the surface.
When the skillet is hot enough that a drop of water sizzles and evaporates instantly, ladle about ¼ cup of batter per pancake onto the pan. The batter should spread into a circle about 4‑5 inches wide. That sizzle when it hits the pan? Absolute perfection. Let it cook undisturbed for 2‑3 minutes, until the edges start to look set and the surface shows tiny bubbles.
Sprinkle a generous handful of grated Parmesan over the top of each pancake before flipping. This step is pure magic; the cheese melts and begins to caramelize, forming a crisp, golden crust. Carefully slide a thin spatula under the pancake and flip it gently. Cook the second side for another 2‑3 minutes, until the cheese is deep amber and the pancake feels firm to the touch.
Transfer the finished pancakes to a warm oven (around 200°F) while you finish the batch. This keeps them from cooling too quickly and losing that coveted crispness. Power transition: Okay, ready for the game‑changer? Keep the oven door slightly ajar to let steam escape, preserving the crust.
Once all pancakes are cooked, serve them immediately with your favorite accompaniments—think a drizzle of herb‑infused olive oil, a spoonful of caramelized onions, or a side of smoked salmon. The pancakes are sturdy enough to hold a generous topping without sagging.
Watch Out: Overloading the pancake can make it soggy; add toppings in layers, starting with a thin base of sauce.Finally, gather everyone around the table and watch as they marvel at the aroma and the golden hue. The moment someone takes a bite and declares, “This is hands down the best version you'll ever make at home,” you’ll know you’ve succeeded. I’ll be honest — I ate half the batch before anyone else got to try it, and that’s a testament to how addictive these pancakes are.
That's it — you did it. But hold on, I've got a few more tricks that'll take this to another level…
Insider Tricks for Flawless Results
The Temperature Rule Nobody Follows
Most home cooks set the stove to “medium” and hope for the best, but the secret is a two‑stage heat. Start at medium‑high to get that initial sizzle and crust, then drop to medium‑low to finish cooking without burning. This method gives you a pancake that’s evenly cooked inside while the outside stays crisp. I once tried cooking the whole thing on high heat and ended up with a burnt exterior and raw center—a culinary disaster I won’t repeat.
Why Your Nose Knows Best
Your sense of smell is a reliable indicator of doneness. When the butter in the pan begins to turn a light amber and you catch a nutty, toasted aroma, it’s a sign the first side is ready to flip. If you rely solely on visual cues, you might miss the subtle change in scent that tells you the Maillard reaction is happening. Trusting your nose saved me from a batch of pale, under‑caramelized pancakes.
The 5‑Minute Rest That Changes Everything
Allowing the batter to rest isn’t just a suggestion; it’s a game‑changer. The gluten fibers relax, the flour fully hydrates, and the leavening agents get a chance to activate fully. This short pause transforms a potentially dense pancake into a light, airy masterpiece. One friend tried skipping the rest and ended up with a pancake that felt more like a dense griddle cake—hardly the dinner‑worthy experience we’re aiming for.
Seasoning Layers for Depth
Don’t rely on just salt. A pinch of freshly cracked black pepper adds a subtle heat that lifts the herbs, while a dash of smoked paprika introduces a gentle smokiness. These layers of seasoning create a complexity that makes each bite interesting. I once added a pinch of cayenne for a spicy kick, and it turned the pancake into a bold side for grilled steak.
The Butter‑Brush Finish
Just before serving, brush each pancake with a thin layer of melted herb‑infused butter. This final glaze adds shine, extra flavor, and a silk‑smooth mouthfeel. The butter also helps the Parmesan crust stay crisp longer, especially if the pancakes sit out for a few minutes.
Creative Twists and Variations
This recipe is a playground. Here are some of my favorite ways to switch things up:
Cheesy Bacon Bliss
Add crisp‑cooked bacon bits to the batter and increase the Parmesan topping. The smoky bacon pairs beautifully with the herb‑infused pancake, making it a perfect brunch‑dinner hybrid. Serve with a drizzle of maple‑mustard sauce for a sweet‑savory combo.
Mediterranean Delight
Swap parsley for fresh basil, add sun‑dried tomatoes, and sprinkle feta cheese instead of Parmesan. The tangy feta and sweet tomatoes create a Mediterranean vibe that works great with a side of tzatziki.
Spicy Southwest
Incorporate a teaspoon of chipotle powder into the dry mix, fold in corn kernels, and top with a dollop of avocado crema. The smoky heat and creamy avocado balance each other, making these pancakes a star at any taco night.
Sweet‑Savory Apple
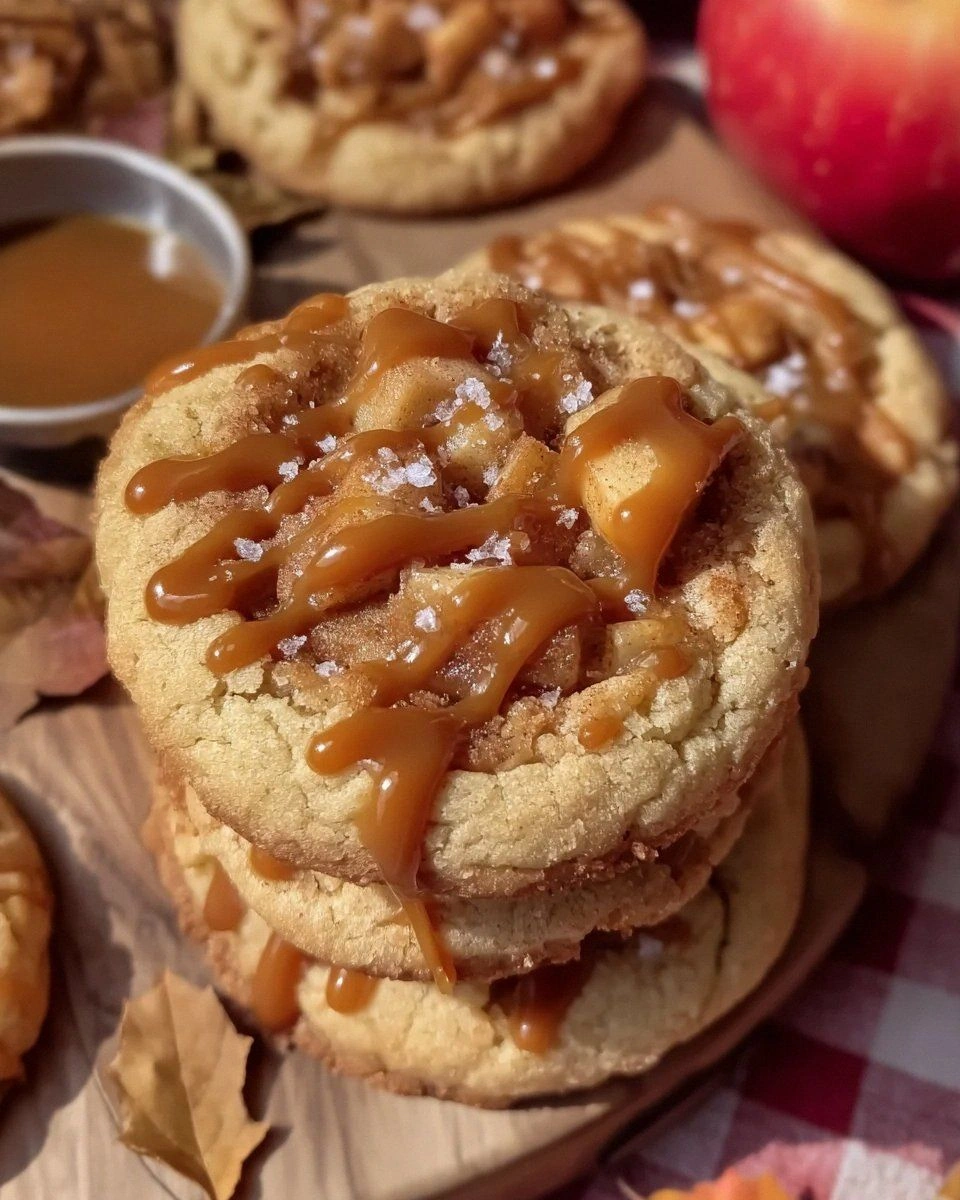
Add finely diced apples and a pinch of cinnamon to the batter, then finish with a drizzle of caramel sauce. The apple’s natural sweetness contrasts the savory base, creating a delightful sweet‑savory experience.
Vegan Velvet
Replace the eggs with a flax‑egg (1 tbsp ground flaxseed + 3 tbsp water) and use oat milk with a splash of apple cider vinegar as a buttermilk substitute. Swap butter for coconut oil and use nutritional yeast in place of Parmesan for that umami kick.
Storing and Bringing It Back to Life
Fridge Storage
Place cooled pancakes in an airtight container lined with parchment paper between each layer. They’ll stay fresh for up to three days. When reheating, add a tiny splash of water to the pan and cover loosely; the steam revives the fluffiness while preserving the crust.
Freezer Friendly
Stack pancakes with wax paper separators, then seal them in a freezer‑grade zip‑lock bag. They freeze beautifully for up to two months. To reheat, pop them straight into a hot skillet, add a few drops of water, and cover for a minute—no microwave needed.
Best Reheating Method
The skillet method is king: heat a non‑stick pan over medium heat, add a dab of butter, and place the pancake. Sprinkle a few drops of water around the edges, cover for 30 seconds, then uncover to let the crust crisp again. This technique restores the original texture better than any oven or microwave hack.