I’ll be honest — I ate half the batch before anyone else got to try it. It all started on a sweltering July afternoon when my air‑conditioner gave up, and I was desperate for something cold, creamy, and indulgent without the guilt of a full‑blown ice‑cream tub. I tossed a spoonful of peanut butter into a bowl, added a splash of yogurt, and before I knew it, the mixture was so silky it could have been a runway model for a beauty pageant. That accidental swirl was the spark, the moment I realized that a frozen bar could be both dessert and snack, a treat you could grab on a hike or serve at a brunch without anyone suspecting you’d spent hours in the kitchen.
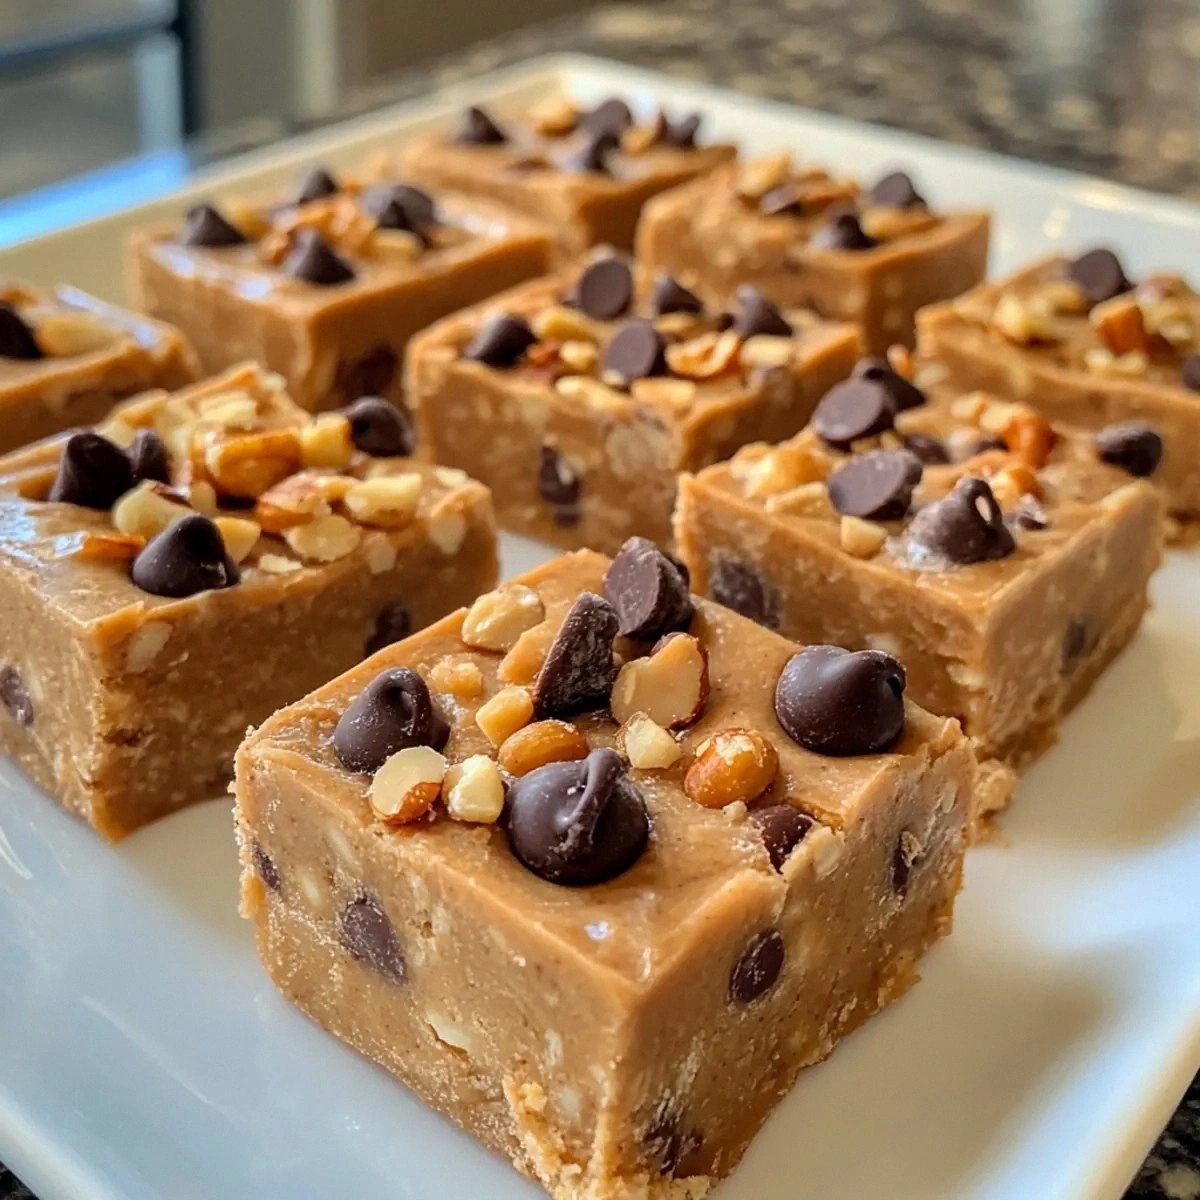
Picture yourself pulling this out of the freezer, the whole kitchen smelling like a peanut‑butter dream wrapped in tangy yogurt, with chocolate chips glistening like tiny constellations. The first bite is a cold‑kiss that melts into a warm, buttery hug, while the fruit and nuts add a crunch that shatters like thin ice on a lake. I dare you to taste this and not go back for seconds; the balance of sweet, salty, and creamy is so perfect it feels almost criminal. Most recipes get this completely wrong, either drowning the peanut butter in sugar or forgetting the crucial yogurt tang that cuts through the richness. This version? Hands down the best you’ll ever make at home.
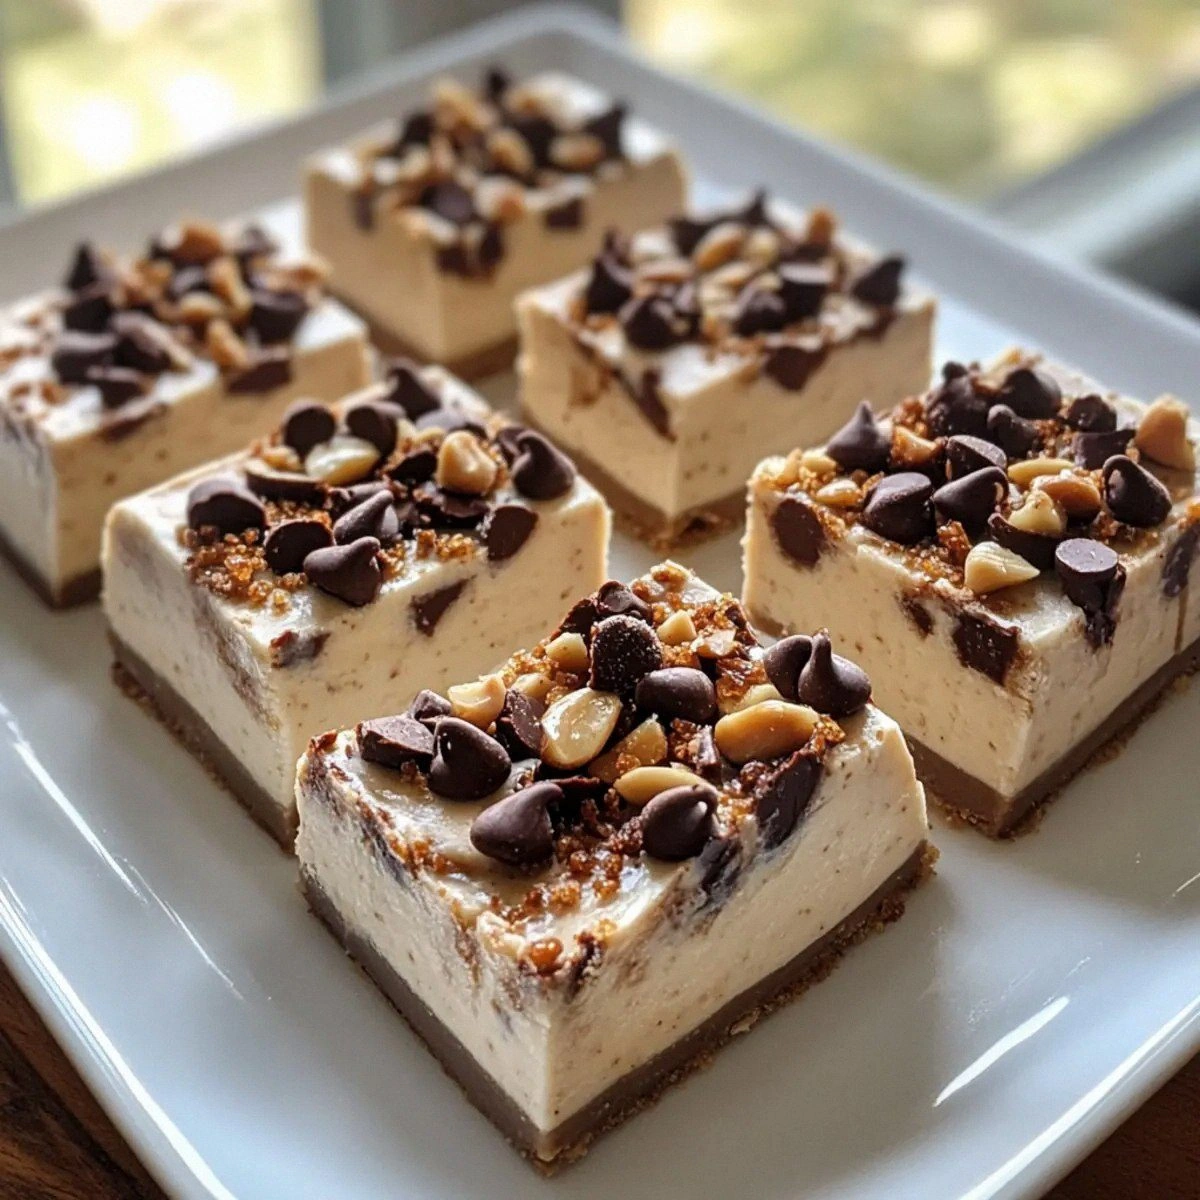
What truly sets this bar apart is a secret technique I discovered while experimenting with a frozen yogurt maker: I gently fold the peanut butter into the yogurt while it’s still slightly chilled, creating a marbled effect that looks as good as it tastes. No fancy equipment, no extra steps that make you want to quit halfway—just a simple, foolproof method that guarantees a velvety texture every single time. And because I love a good surprise, I’ll be slipping in a tiny splash of vanilla extract at the very end, a detail that lifts the whole flavor profile into the stratosphere.
Okay, ready for the game‑changer? Let me walk you through every single step — by the end, you’ll wonder how you ever made it any other way. Stay with me here — this is worth it.
What Makes This Version Stand Out
- Taste: The peanut butter’s nutty depth is perfectly balanced by the tangy yogurt, creating a flavor duet that sings on the palate.
- Texture: Creamy, smooth, and just the right amount of bite from chocolate chips and nuts—think a dream that you can actually chew.
- Simplicity: Fewer than ten ingredients, no fancy gadgets, and a total hands‑on time of fifteen minutes.
- Uniqueness: The marbled swirl of peanut butter and yogurt is a visual treat that turns a simple bar into a show‑stopper.
- Crowd Reaction: Guests often ask for the recipe before they finish the first bite, and you’ll get the same look of pure delight every single time.
- Ingredient Quality: Using a natural, unsweetened yogurt lets the peanut butter shine without being over‑sweetened.
- Method: Freezing instead of baking keeps the bars light, airy, and refreshingly cool—perfect for any season.
- Make‑Ahead Potential: These bars store beautifully, meaning you can prep a batch on Sunday and have a ready‑to‑grab snack all week.
Inside the Ingredient List
The Flavor Base
Peanut butter is the heart of this recipe. Its rich, earthy notes provide the foundation that carries the sweet and salty notes throughout the bar. I recommend using a natural, unsweetened variety; the slight oil separation is actually a blessing because it makes the butter easier to stir into the yogurt without clumping. If you skip the peanut butter, you lose the signature depth, and the bar ends up tasting like bland frozen yogurt. For a twist, try almond butter for a slightly lighter, more delicate flavor.
The Texture Crew
Greek yogurt brings a creamy tang that cuts through the richness of the peanut butter, creating a balanced mouthfeel. The high protein content also helps the bars set up nicely without becoming icy. Opt for a full‑fat version if you prefer a richer mouthfeel, but low‑fat works just as well if you’re watching calories. Skipping the yogurt altogether results in a dense, overly sweet bar that lacks that refreshing snap.
The Unexpected Star
Chocolate chips and nuts are the surprise guests that crash the party—in the best way possible. The chips melt just enough to create pockets of molten chocolate, while the nuts add a satisfying crunch that contrasts the silky base. If you’re allergic or simply don’t like nuts, toasted seeds (like pumpkin or sunflower) make a great substitute without sacrificing texture.
The Final Flourish
Fresh fruit adds a burst of natural sweetness and a hint of acidity that brightens the whole bar. I love using sliced strawberries or raspberries because their juice seeps into the yogurt, creating tiny pockets of fruit‑infused creaminess. If you skip the fruit, the bar can feel a bit one‑dimensional; the fruit’s brightness is the final brushstroke on this edible canvas. For a tropical twist, try diced mango or pineapple.
Everything's prepped? Good. Let's get into the real action...
The Method — Step by Step
First, gather all your ingredients and give the peanut butter a quick stir to reincorporate any oil that has separated. This is the moment of truth—if the peanut butter looks too thick, microwave it for 10 seconds, just enough to loosen it without melting.
Next, in a large mixing bowl, whisk the yogurt until it’s smooth and airy; think of it as creating a cloud that will later hold the peanut butter’s weight.
Add the sweetener (I use honey, but maple syrup works equally well) and a pinch of salt, then whisk again until everything is fully combined. The mixture should smell sweet and slightly nutty.
Now for the magic: create a marble effect. Pour half of the yogurt mixture into a second bowl, then stir in the peanut butter until it’s fully blended. You’ll notice a deep amber hue that’s ready to swirl.
Gently fold the peanut‑butter‑yogurt into the plain yogurt using a spatula, turning the bowl over and over in a figure‑eight motion. This technique ensures you get beautiful ribbons without fully mixing the colors.
Kitchen Hack: Use a rubber spatula with a wide blade; it creates smoother folds and prevents the mixture from becoming too dense.While you’re folding, prepare your add‑ins. Toss the chocolate chips and nuts into a small bowl; if you like them toasted, give them a quick 3‑minute roast in a dry skillet over medium heat, stirring constantly until fragrant.
Fold half of the chocolate‑nut mixture into the marbled yogurt, reserving the rest for the topping. The chips should stay whole, creating pockets of molten chocolate when frozen.
Line an 8‑inch square pan with parchment paper, allowing the paper to overhang on two sides for easy removal later. Lightly spray the parchment with non‑stick spray (the hack from earlier).
Pour the marbled mixture into the pan, spreading it evenly with the spatula. The surface should be smooth but not overly packed; think of a soft‑serve ice cream texture.
Now, sprinkle the remaining chocolate‑nut mixture over the top, followed by the fresh fruit slices. Press the fruit gently into the surface so it adheres as the bar freezes.
If you want an extra glossy finish, drizzle a thin stream of honey or melted chocolate over the top—this step is optional but adds a professional sheen.
Cover the pan with a piece of foil or a loose lid to prevent freezer burn. Place the pan in the freezer and let it set for at least 3‑4 hours, preferably overnight for the cleanest slice.
Watch Out: If you leave the pan uncovered, ice crystals will form on the surface, ruining the smooth finish.When the bar is fully frozen, remove it from the freezer and use the parchment overhang to lift it out of the pan. Place it on a cutting board and, with a sharp knife warmed under hot water, slice into bars of your desired size.
The knife should glide through with minimal resistance—if it sticks, dip the blade back into the hot water for a few seconds.
Arrange the bars on a serving platter. For a finishing touch, sprinkle a pinch of flaky sea salt over each bar; this tiny crunch amplifies the sweet‑salty dance.
Serve immediately, or keep them frozen until guests arrive. Remember: the longer they sit at room temperature, the softer they become, which is perfect for those who love a melt‑in‑your‑mouth experience.
That’s it — you did it. But hold on, I’ve got a few more tricks that'll take this to another level. Stay tuned for insider tips that will make every batch even more unforgettable.
Insider Tricks for Flawless Results
The Temperature Rule Nobody Follows
Never pour the yogurt straight from the fridge; let it sit for five minutes to warm slightly. This small temperature rise prevents the mixture from cracking when you fold in the peanut butter, ensuring a smooth marble. I once tried skipping this step and ended up with a grainy bar that felt more like a frozen custard gone wrong.
Why Your Nose Knows Best
When the chocolate chips are toasted, trust your nose. The moment you detect a toasty, buttery aroma, they’re ready. Over‑toasting turns them bitter, which can overwhelm the delicate yogurt base. A quick sniff saves you from a flavor disaster.
The 5‑Minute Rest That Changes Everything
After you pull the pan from the freezer, let it rest uncovered for five minutes before slicing. This short pause lets the outer layer soften just enough to release clean cuts without shattering the interior. I’ve seen bars crumble into icy shards when sliced too early.
Layering for Visual Drama
If you want those Instagram‑worthy swirls, pour the plain yogurt first, then dollop spoonfuls of peanut‑butter mixture on top, and use a skewer to drag through, creating a marble effect. The more you swirl, the more dramatic the visual, but be careful not to over‑mix, or you’ll lose the distinct ribbons.
The Secret Sweetener Swap
Instead of regular sugar, try a touch of agave nectar or coconut sugar for a subtle caramel note. These alternatives dissolve better in cold yogurt, preventing grainy pockets that can appear with granulated sugar.
Creative Twists and Variations
This recipe is a playground. Here are some of my favorite ways to switch things up:
Cocoa‑Crazed Delight
Swap half of the yogurt for chocolate Greek yogurt and add a tablespoon of cocoa powder to the peanut butter. The result is a double‑chocolate bar with a nutty core—perfect for cocoa addicts.
Tropical Sunrise
Replace the fruit topping with diced mango, pineapple, and a sprinkle of toasted coconut flakes. The tropical acidity brightens the peanut butter, turning the bar into a beach‑vacation in a bite.
Spicy Heatwave
Add a pinch of cayenne pepper to the peanut butter before folding and drizzle a thin line of honey infused with chili flakes on top. The subtle heat awakens the palate without overpowering the sweetness.
Nut‑Free Crunch
If you have allergies, swap the nuts for toasted pumpkin seeds and the chocolate chips for white chocolate chunks. The flavor profile stays rich, and the crunch remains satisfying.
Berry‑Burst Explosion
Blend fresh strawberries into the yogurt before mixing, then fold in whole blueberries as the topping. The bar becomes a berry‑laden masterpiece with pockets of juicy fruit throughout.
Storing and Bringing It Back to Life
Fridge Storage
If you plan to eat the bars within two days, keep them in an airtight container in the fridge. They’ll stay firm for up to 48 hours, and the texture will stay creamy rather than icy.
Freezer Friendly
For longer storage, wrap each bar individually in parchment, then place them in a zip‑top freezer bag. They’ll maintain peak quality for up to three months. When you’re ready to serve, let them sit at room temperature for ten minutes.
Best Reheating Method
If the bar has become too hard, give it a quick 10‑second zap in the microwave on low power, or simply add a tiny splash of water to the plate before microwaving. The steam revives the creamy interior without melting the outer crust.