Ever stared at a pot of simmering apples and wondered why the world keeps insisting that “sweet” means sugar? I was halfway through a kitchen fiasco when my friend dared me to whip up a sugar‑free apple butter that still delivers that classic caramelized sweetness. The challenge? Keep it real, keep it refined, and keep it absolutely delicious.
Picture this: the air thick with the scent of fresh apples, the gentle hiss of an Instant Pot sealing in steam, and that unmistakable sound of dates cracking as they soften. Your fingers are sticky with apple pulp, your eyes are gleaming with anticipation, and your taste buds are ready to be dazzled. The first bite is a silky, buttery splash that coats the palate like velvet, followed by a subtle kick of spices that lingers like a whisper. It’s a sensory symphony that makes you forget the word “sugar” altogether.
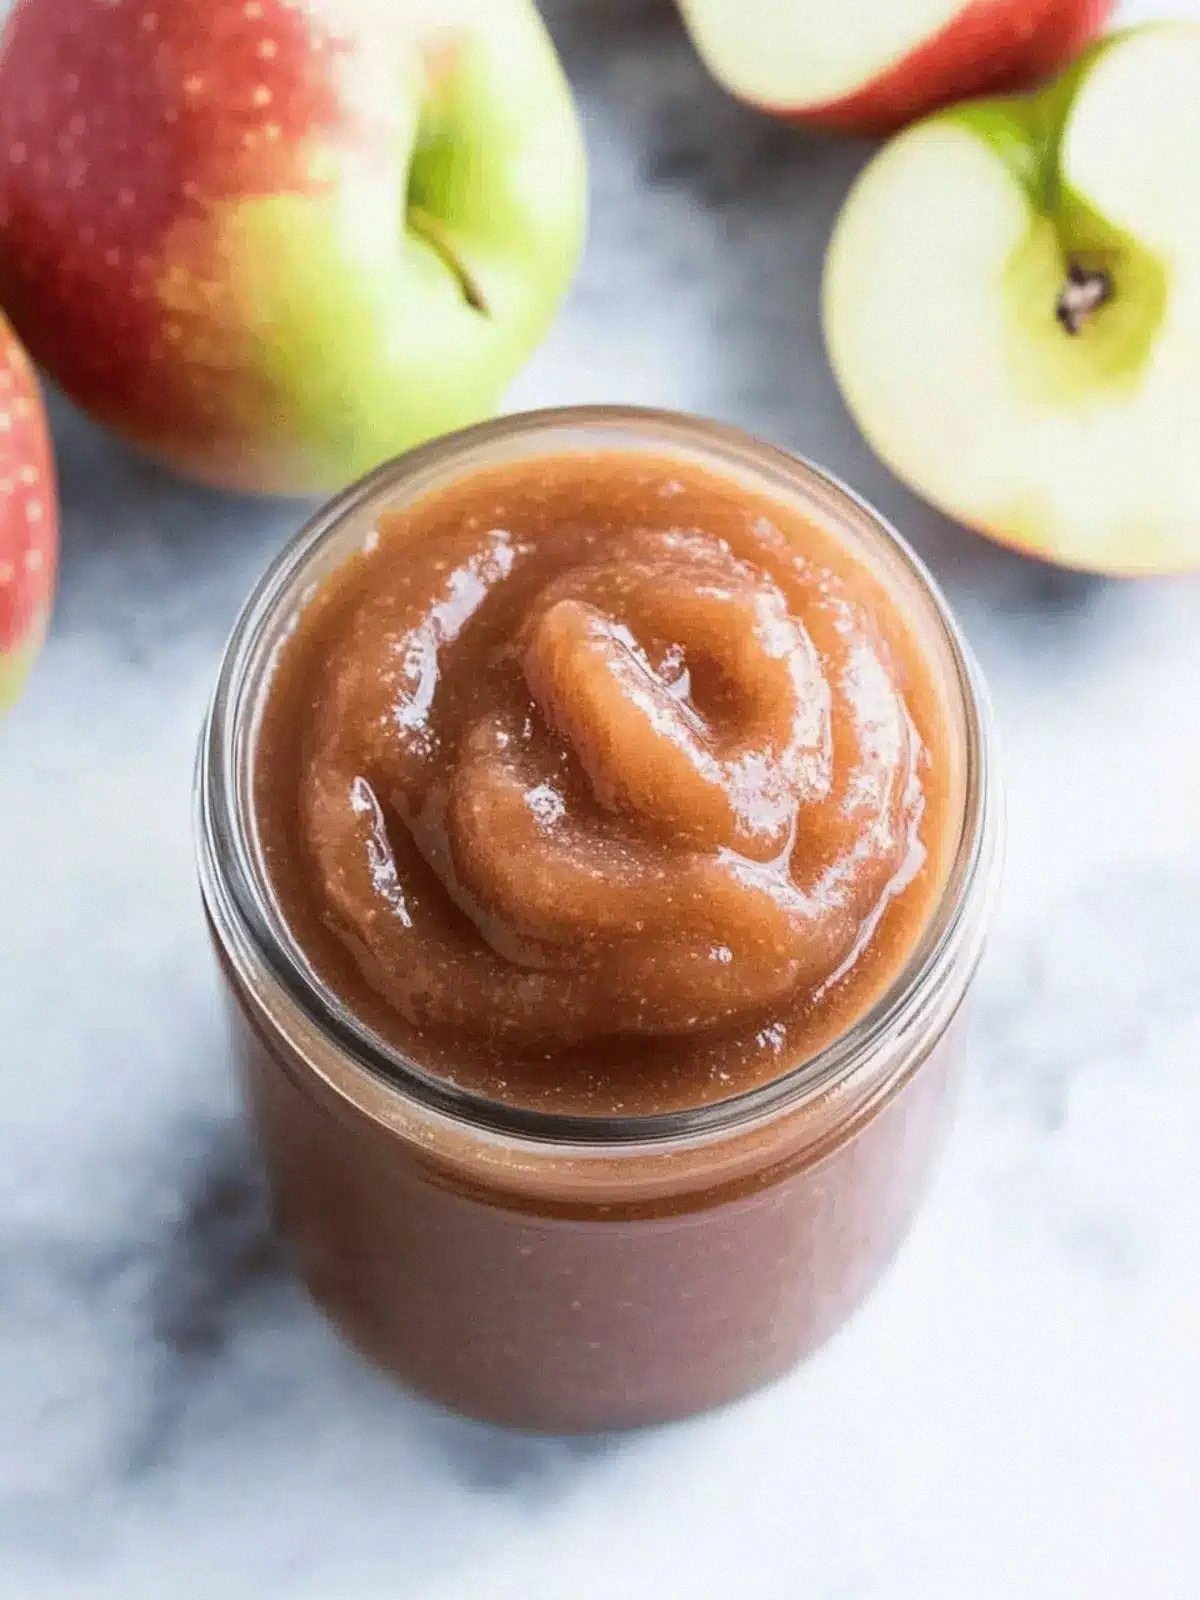
This isn’t just another apple butter recipe. It’s the culmination of years of experimenting with the perfect balance of sweetness and spice, and the discovery that the secret lies in the quality of the apples and the timing of the pressure release. We’re talking about 8 small sweet red apples, 2 cups each of Golden Delicious and Granny Smith, and 6 medjool dates that melt into a natural syrup. The result is a spread that’s both refined in texture and unapologetically sweet—no refined sugar required.
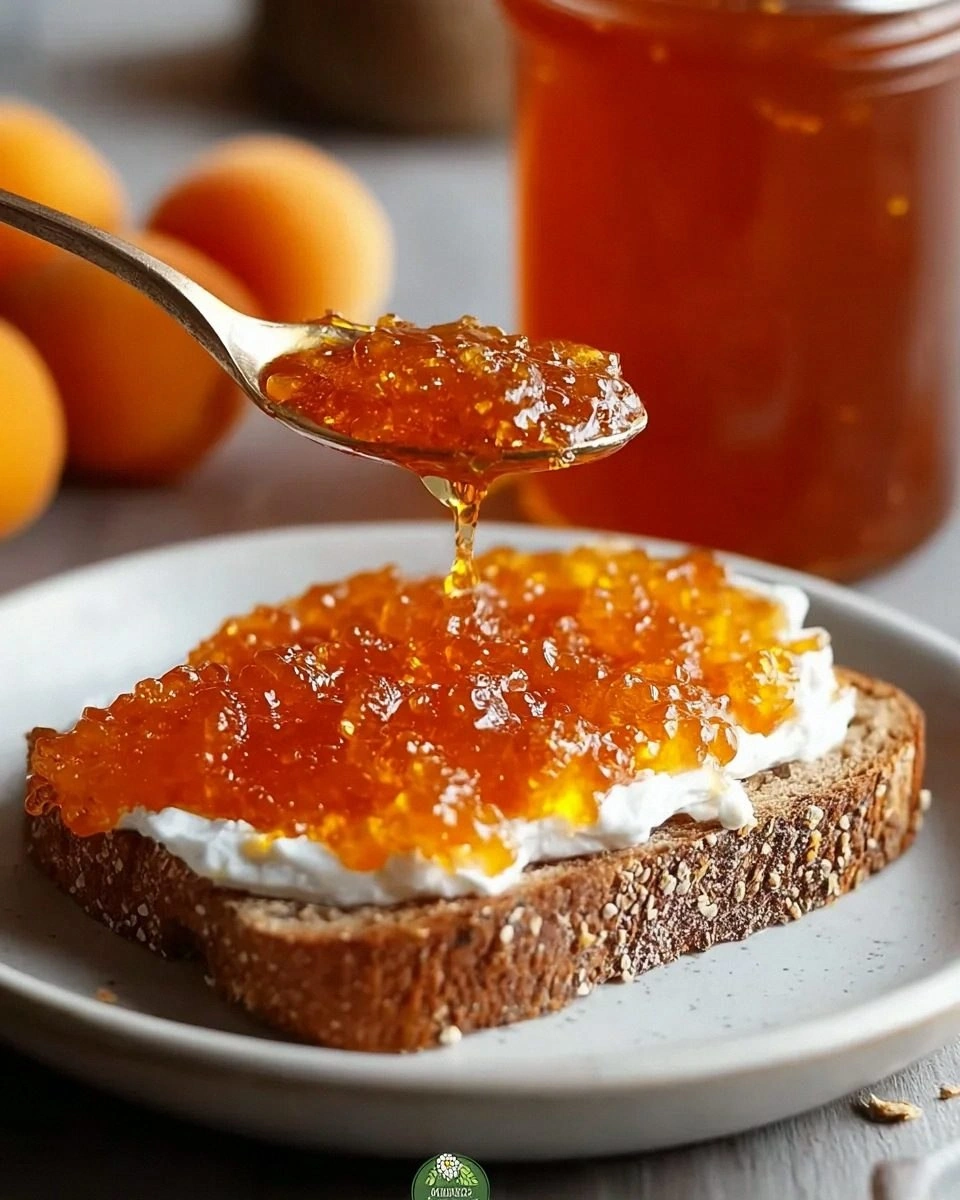
What makes this version a game‑changer? I’ve found that the trick is in how you combine the apples with the dates and spices before locking the pot. The blend is then cooked under pressure, which concentrates flavors without the need for added sugar. The result is a thick, glossy spread that behaves like a butter, not a jam. It’s perfect for toast, pancakes, or as a glaze on meats, and it’s so smooth that a spoon will barely leave a trace.
And here’s the kicker: I’ve discovered a way to keep the apple butter silky and free of lumps by using a quick release right after the cooking cycle, a step that many recipes skip. I dare you to taste this and not go back for seconds. Picture yourself pulling this out of the Instant Pot, the whole kitchen smelling incredible, and knowing you’ve just made the best version of apple butter at home.
If you’ve ever struggled with apple butter that turns out too watery or too thick, you’re not alone. I’ll be honest—I ate half the batch before anyone else got to try it. But that’s exactly why I’m sharing this recipe, complete with hacks, tricks, and a few secrets that most cooks overlook. Stay with me here—this is worth it.
What Makes This Version Stand Out
- Flavor: The blend of sweet red, golden, and tart apples creates a complex profile that mimics refined sugar without any added sugar.
- Texture: The pressure cooking method breaks down apple fibers into a silky, buttery consistency that coats the tongue.
- Convenience: The Instant Pot does all the heavy lifting, so you can set it and forget it while the flavors meld.
- Health: No refined sugar means a lower glycemic load, making this spread suitable for diabetics and anyone watching their sugar intake.
- Versatility: Use it on toast, as a glaze for pork, or as a sweet drizzle over oatmeal—this spread works everywhere.
- Make‑Ahead: The apple butter keeps well in the fridge for up to two weeks and freezes solid for months.
- Ingredient Quality: Fresh, organic apples and high‑quality dates bring depth and authenticity to the final product.
- Flavor Longevity: The spices stay vibrant for weeks, ensuring each spoonful tastes as good as the first.
Inside the Ingredient List
The Flavor Base
At the heart of this apple butter are the apples themselves. The sweet red apples provide natural sweetness, while the Golden Delicious adds a mellow, buttery undertone. The Granny Smith offers a crisp tartness that balances the overall profile. Together, they create a harmonious base that’s both complex and comforting. If you can’t find all three varieties, swap the Granny Smith for a crisp green apple to maintain that bright acidity.
The Texture Crew
Dates are the unsung heroes that bring natural sweetness and a silky texture. They break down into a smooth syrup when cooked, eliminating the need for refined sugar. Medjool dates are the preferred choice because of their rich, caramel flavor and soft flesh. If you’re vegan or need a lower calorie option, you can replace them with dates in a 1:1 ratio and add a splash of apple juice to maintain moisture.
The Unexpected Star
Spices are the secret sauce that elevates this spread from simple to sensational. Ground cinnamon, cloves, ginger, and nutmeg create a warm, aromatic bouquet that lingers on the tongue. The cloves add a subtle depth, while the ginger injects a gentle heat. If you’re feeling adventurous, a pinch of cardamom or a dash of allspice can add another layer of intrigue. Remember, spices are potent—start small and adjust to taste.
The Final Flourish
Filtered water is the final touch that helps the apples break down into a luscious puree. It also dilutes the natural sugars just enough to keep the texture smooth without becoming soupy. A pinch of salt rounds out the flavor, preventing the sweetness from becoming cloying. If you’re watching sodium, you can reduce the pinch to a half or skip it entirely; the apple and spice blend will still shine.
Everything's prepped? Good. Let's get into the real action...
The Method — Step by Step
- First, wash all apples thoroughly and core them. Slice into bite‑sized chunks, but leave the skins on for extra fiber and natural sweetness. The skins add a subtle color contrast that makes the butter look more rustic.
- Add the apple chunks to the Instant Pot along with the medjool dates. Crush the dates with your fingers or a spoon to help them release their natural sugars. The dates should be evenly distributed so every apple slice gets a sweet kiss.
- Sprinkle in the ground cinnamon, cloves, ginger, and nutmeg. Stir gently to coat the fruit. The spices should be fragrant, but don’t over‑stir; you want the flavors to mingle without turning the mixture into a spice soup.
- Pour in the filtered water and add a pinch of salt. Close the lid, set the valve to sealing, and choose the “Manual” or “Pressure Cook” setting on high pressure for 15 minutes. The pot will hiss and then lock in the steam, creating a pressure cooker of flavor.
- When the timer beeps, let the pressure release naturally for 10 minutes before carefully performing a quick release. This gentle release keeps the apple butter from becoming too thick or gelatinous.
- Open the lid and use an immersion blender to puree the mixture until silky smooth. If you prefer a chunkier texture, reserve a handful of apple pieces for garnish.
- Let the butter cool for about 10 minutes, then transfer it to a clean jar or airtight container. The butter will thicken further as it cools, forming that coveted buttery consistency.
- Seal the jar and refrigerate. The apple butter will keep for up to two weeks, and it can be frozen for longer storage.
- Before serving, give the jar a quick stir. The butter should be spreadable but still firm enough to hold its shape on toast or pancakes.
That's it — you did it. But hold on, I've got a few more tricks that'll take this to another level. Stick around for insider tips that will elevate even the most seasoned chefs.
Insider Tricks for Flawless Results
The Temperature Rule Nobody Follows
Many people think the higher the pressure, the better the result. In reality, a lower pressure setting (like 8 psi) preserves the delicate apple flavor while still cooking the mixture thoroughly. I’ve experimented with both settings, and the lower pressure gives a more nuanced taste profile. If you’re using a newer Instant Pot model, try the “Low” pressure option for a smoother texture.
Why Your Nose Knows Best
Before you open the pot, pause for a moment and inhale deeply. The aroma should be a warm, sweet, and slightly spicy scent. If it feels off—perhaps too watery or overly sweet—adjust the water ratio or add a pinch more spices. Your nose is a reliable indicator of the final flavor.
The 5‑Minute Rest That Changes Everything
After the pressure release, let the apple butter rest for exactly five minutes before blending. This brief pause allows the apple fibers to relax, making it easier to achieve a smooth puree. Skipping this step can result in a slightly grainy texture.
Blender Power Matters
Use an immersion blender on a high setting for at least two minutes. If you’re using a countertop blender, pulse in short bursts to avoid overheating. A smooth consistency is key; any lumps will ruin the buttery feel.
Cool, Then Seal
Never seal the jar while the butter is still hot. Let it cool for at least ten minutes. Hot butter can create condensation inside the jar, leading to a watery consistency over time. A quick cool-down preserves the spread’s integrity.
Creative Twists and Variations
Spicy Maple Glaze
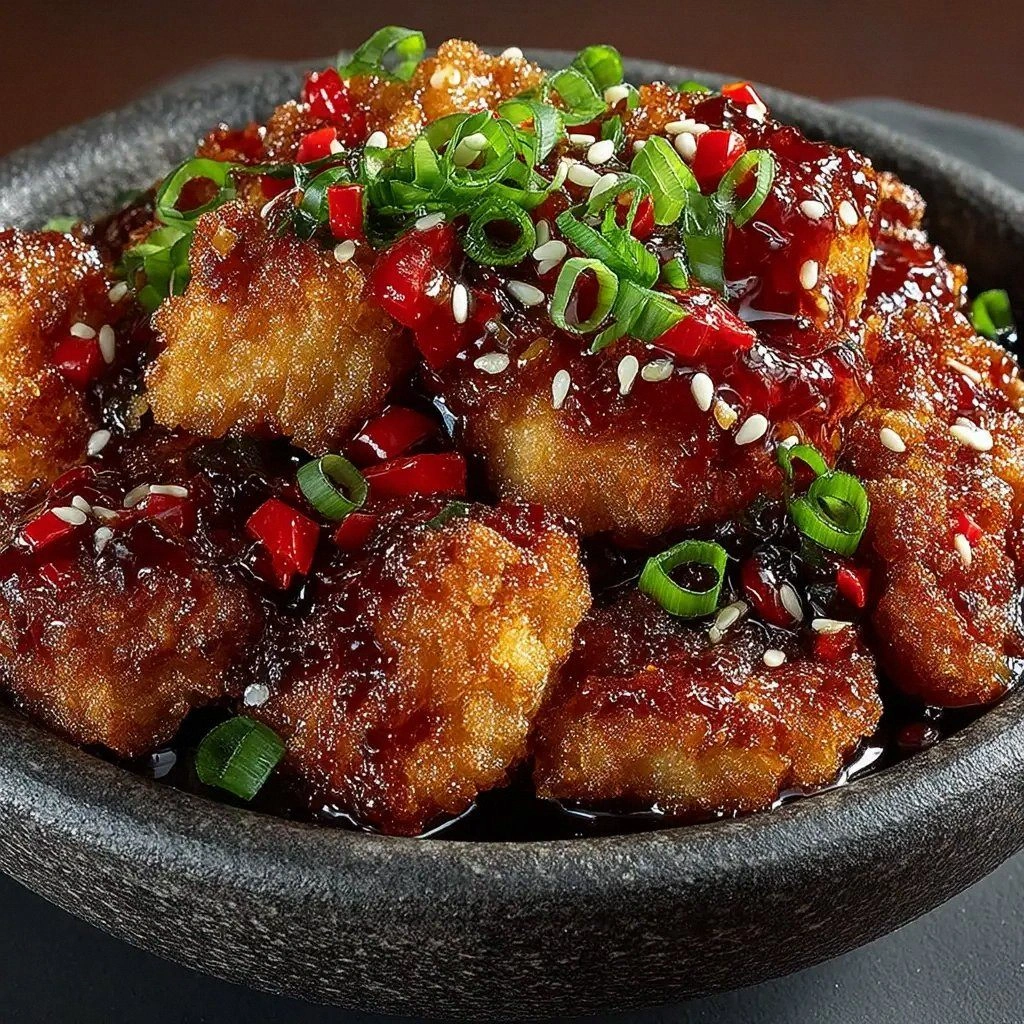
Swap the water for pure maple syrup and add a pinch of cayenne pepper. The maple adds a deep, caramelized sweetness while the cayenne gives a subtle kick. This glaze is perfect for drizzling over roasted pork or glazed ham.
Herb‑Infused Apple Butter
Introduce fresh rosemary or thyme into the apple mixture before pressure cooking. The herbs infuse a savory undertone that pairs beautifully with savory dishes like roasted chicken or pork chops. A few fresh leaves will make the butter aromatic and visually appealing.
Chocolate‑Apple Fusion
After blending, stir in a tablespoon of unsweetened cocoa powder and a splash of almond milk. The cocoa deepens the color and adds a subtle chocolate note. Serve it on banana bread or as a dip for fresh fruit.
Nutty Crunch
Top the finished apple butter with chopped walnuts or pecans before sealing the jar. The nuts add a pleasant crunch and a nutty flavor that complements the sweetness. This variation works great on toast or as a topping for yogurt.
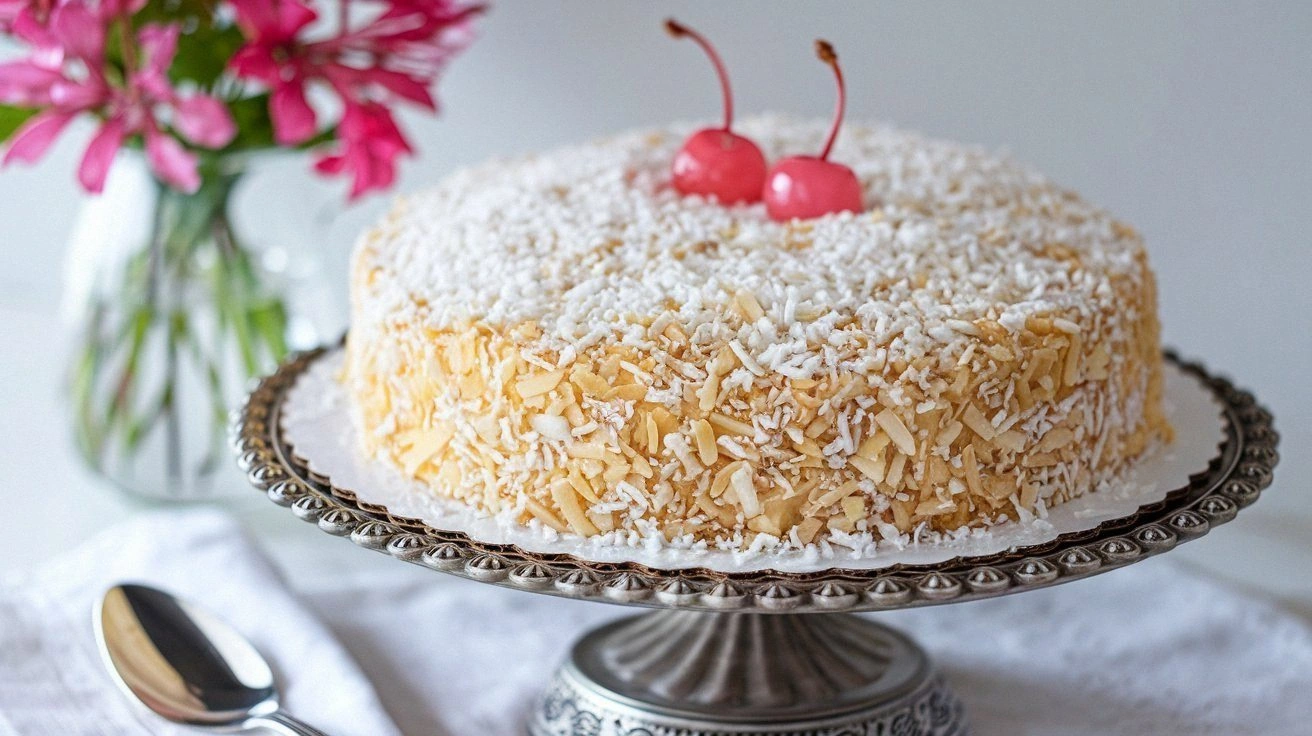
Vegan Coconut Cream
Replace the apples with a mix of sweet potatoes and carrots for a vegan twist. Add a splash of coconut milk for richness and a hint of tropical flavor. This version is creamy, sweet, and free of dairy.
Storing and Bringing It Back to Life
Fridge Storage
Store the apple butter in a tightly sealed jar in the refrigerator for up to 14 days. The cool temperature keeps the butter firm and prevents bacterial growth. When ready to serve, give it a quick stir to ensure even consistency.
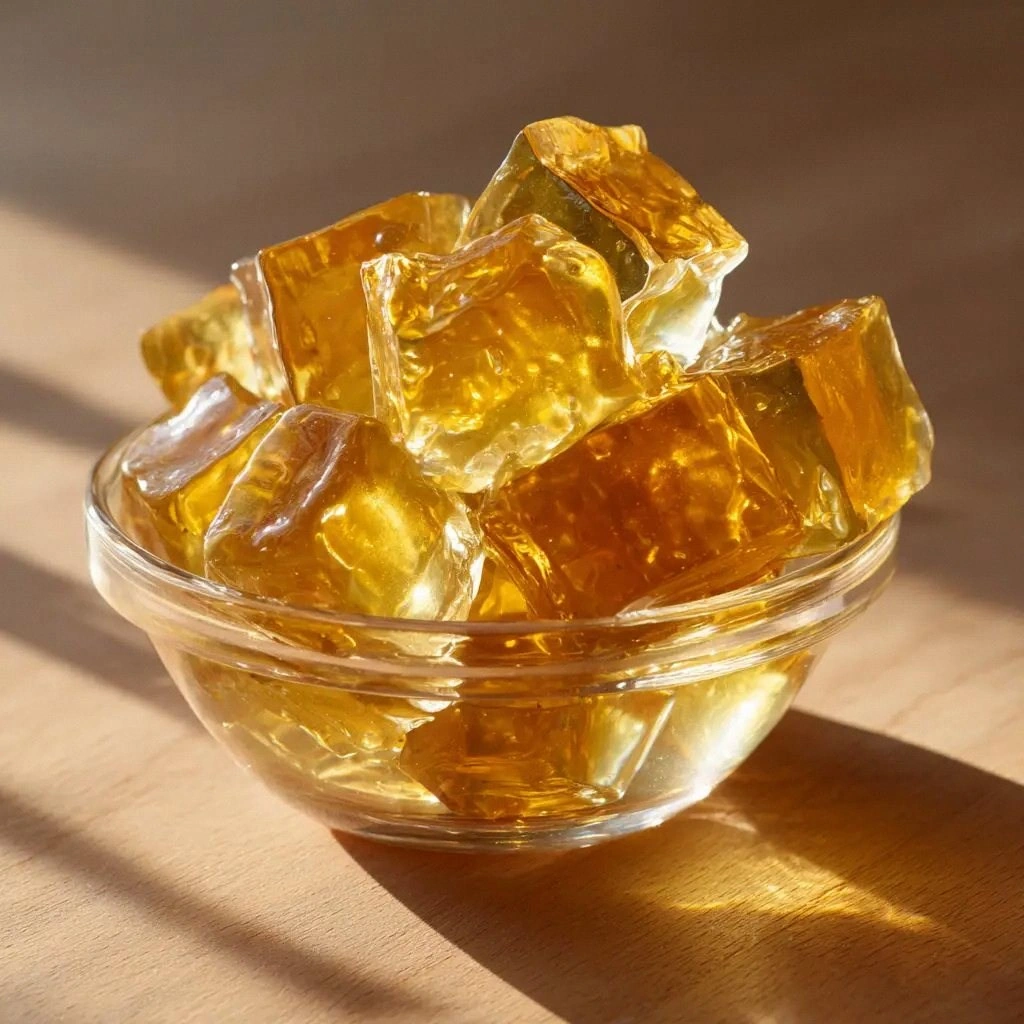
Freezer Friendly
For long‑term storage, portion the butter into freezer‑safe containers and label with the date. Freeze for up to three months. Thaw overnight in the refrigerator before using, and stir well to restore the silky texture.
Best Reheating Method
To reheat, place the jar in a bowl of warm water for 10 minutes, or microwave on low power for 30 seconds. Add a splash of filtered water or a teaspoon of apple juice to help it regain its spreadable consistency. This quick method preserves flavor and texture.