Picture this: a cramped kitchen, a handful of flour, and a frantic friend who dared me to bake the most unforgettable Halloween treat. I was halfway through a batch of plain sugar cookies when the oven alarm rang and the dough collapsed into a sad, flat mess. I stared at the ruined cookies, feeling the sting of disappointment, and swore that I would never let that happen again. That night, I spent hours tweaking ratios, swapping ingredients, and testing different baking times until I cracked a golden recipe that turns ordinary sugar cookies into Jack‑O‑Lanterns that practically carve themselves.
I’ll walk you through every single step, and by the end of this post, you’ll wonder how you ever baked anything else. The dough feels like warm honey, the edges crisp up like the first bite of a fresh apple, and the icing glistens like a pumpkin’s carved face under a streetlamp. Every time I pull a batch out of the oven, the scent of vanilla and butter fills the air, making the whole kitchen feel like a cozy cabin on a crisp autumn evening. The moment the cookies cool, the orange icing dries to a glossy finish that’s as satisfying to look at as it is to bite into.
What sets this version apart is that I’ve combined the best of classic sugar cookie chemistry with a few secret twists that elevate the flavor profile and texture. I used a blend of all-purpose flour and a touch of baking soda to create a tender crumb, while the subtle almond extract adds a nutty undertone that surprises the palate. The icing isn’t just sweet; it’s balanced with a hint of citrus from orange zest, giving it a bright, clean finish that cuts through the buttery richness. I also perfected the carving technique, so the shapes stay crisp and don’t crumble, making them perfect for a Halloween party or a spooky tea party.
And the best part? I discovered a trick that makes the dough work like a charm, even if you’re a novice baker. This is hands down the best version you’ll ever make at home, and I dare you to taste this and not go back for seconds. If you’ve ever struggled with cookies that turn out too hard or too soft, you’re not alone—and I’ve got the fix. So let’s dive into the ingredients, the method, and the secret hacks that will make your kitchen the envy of every Halloween enthusiast.
What Makes This Version Stand Out
- Flavor: The combination of vanilla, almond, and a whisper of orange zest creates a layered taste that feels both nostalgic and fresh. The cookies are sweet but never cloying, thanks to the balanced sugar-to-butter ratio.
- Texture: The dough’s consistency is buttery yet pliable, allowing for easy shaping without cracking. The final product is crisp on the edges and chewy in the center, like a perfect caramel.
- Simplicity: All steps are straightforward, requiring no advanced baking skills. Even a first‑time baker can follow along without feeling overwhelmed.
- Uniqueness: The subtle almond extract and citrus‑infused icing give this cookie a distinctive twist that sets it apart from ordinary sugar cookies.
- Crowd Reaction: Guests rave about the cookies’ appearance and taste, often asking for the recipe. The festive design makes it an instant conversation starter.
- Ingredient Quality: Using high‑quality butter and fresh vanilla makes the flavor pop. The almond extract is just a hint—enough to elevate the taste without overpowering.
- Cooking Method: The technique of letting the dough rest and using a silicone mat ensures even baking and prevents sticking.
- Make‑Ahead Potential: You can prepare the dough a day ahead and bake right before serving, saving time on the big night.
Alright, let’s break down exactly what goes into this masterpiece…
Inside the Ingredient List
The Flavor Base
All-purpose flour is the backbone of your cookies, providing structure and a soft texture. It’s a neutral canvas that lets the butter and sugars shine. If you’re looking for a slightly richer flavor, you can swap half the flour for cake flour, but the dough will be a bit more delicate. For a gluten‑free version, use a 1:1 blend of rice flour and potato starch, but keep in mind the texture will shift toward a more crumbly bite.
The Texture Crew
Unsalted butter adds richness and flavor. Make sure it’s softened for easy creaming, otherwise the dough will be uneven and the cookies may spread too much. White sugar not only sweetens the cookies but also contributes to their lovely texture, creating a slightly crisp exterior. Baking soda and baking powder work together to keep the cookies light and airy, preventing them from becoming too dense.
The Unexpected Star
Almond extract is the secret weapon that gives the cookies a subtle nutty undertone. A little goes a long way—just a few drops. If you’re allergic or just don’t like almonds, a drop of vanilla or a dash of lemon extract can substitute, but the flavor profile will shift slightly. The pinch of salt balances the sweetness and enhances the overall flavor of the cookies.
The Final Flourish
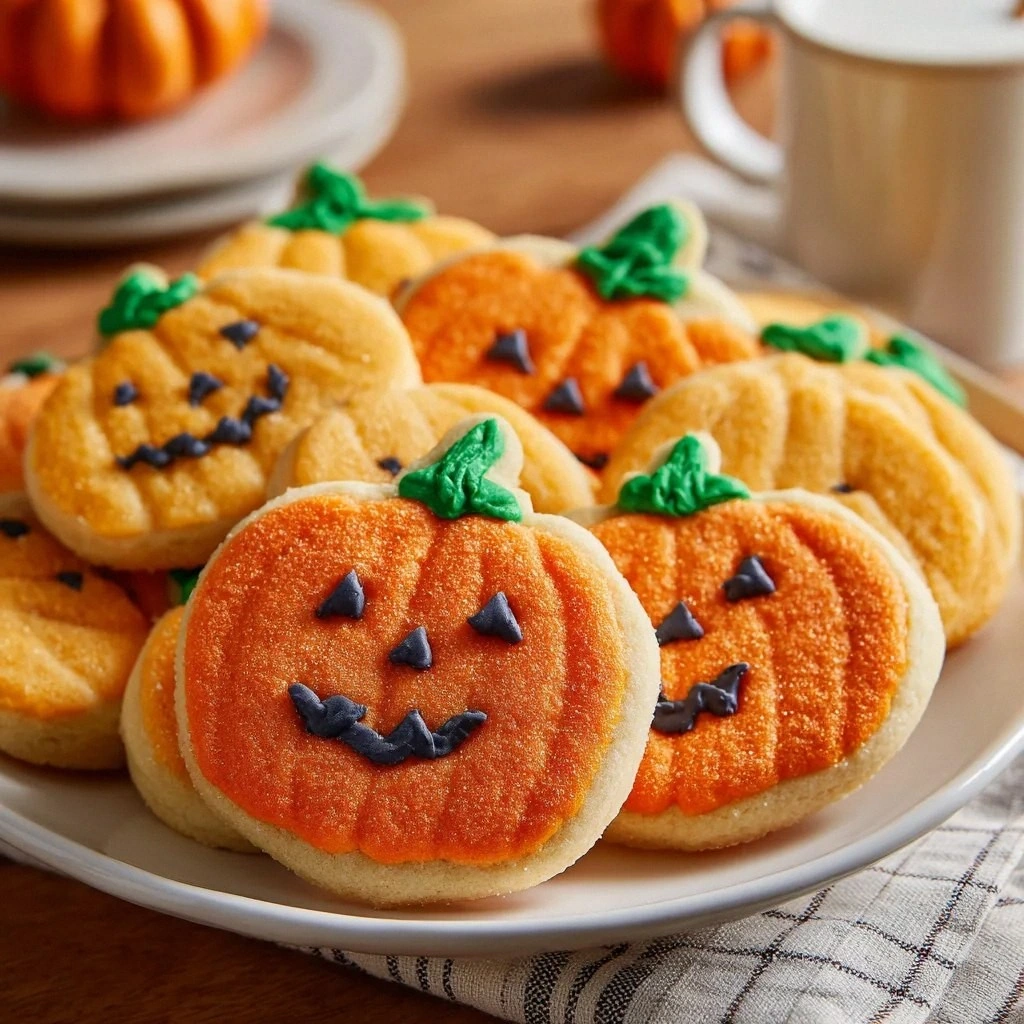
Orange and green icing are essential for decorating your Jack‑O‑Lanterns, making them festive and fun. The orange icing is made with powdered sugar, orange zest, and a touch of lemon juice for brightness. The green icing uses powdered sugar, lime juice, and a few drops of green food coloring. Both icings set quickly, so you can decorate right after the cookies cool.
Everything's prepped? Good. Let's get into the real action…
The Method — Step by Step
- Preheat your oven to 350°F (175°C) and line a baking sheet with parchment paper. While the oven warms, gather all your ingredients and set the mixing bowl on a flat surface. This ensures a smooth mixing process and keeps the dough from sticking to the bowl. The aroma of butter will start to fill the kitchen even before you begin.
- In a separate bowl, sift together the flour, baking soda, baking powder, and a pinch of salt. Sifting removes clumps and ensures even leavening. Add the dry mixture to the creamed butter and sugar, mixing on low until just combined. Be careful not to overmix, or the cookies will become tough.
- Stir in the egg, vanilla extract, almond extract, and a splash of lemon juice for brightness. Mix until the dough comes together into a cohesive ball. The dough should be slightly sticky but manageable. If it’s too dry, add a teaspoon of milk; if too wet, sprinkle a tablespoon more flour.
- Cover the dough with plastic wrap and refrigerate for 30 minutes. This chilling step is crucial; it firms up the butter, preventing the cookies from spreading too much. While the dough rests, you can prepare the icing or set up your carving tools.
- Using a pumpkin-shaped cookie cutter, cut out your Jack‑O‑Lanterns. Transfer them to the prepared baking sheet, spacing them about 2 inches apart. If you don’t have a pumpkin cutter, a round cutter and a small knife will work; just carve the eyes, nose, and mouth with a toothpick or a small knife.
- Bake for 12–14 minutes, or until the edges are golden brown and the centers look set but still soft. The cookies should emit a toasty aroma that makes your mouth water. Watch the edges; when they pull away from the parchment, it’s time to take them out.
- Allow the cookies to cool on the sheet for 5 minutes before transferring them to a wire rack to cool completely. This prevents them from becoming soggy on the bottom. The cooling phase also allows the icing to set properly, creating a glossy finish.
- While the cookies cool, prepare the icing. For the orange icing, whisk powdered sugar, orange zest, lemon juice, and a few drops of orange food coloring until smooth. For the green icing, whisk powdered sugar, lime juice, and a few drops of green food coloring. Let both icings sit for 10 minutes to thicken.
- Using a small piping bag or a plastic bag with a corner snipped off, pipe the orange icing onto each cookie, forming the pumpkin’s face. Once the orange icing dries slightly, add the green icing for the eyes, nose, and mouth. Let the icing set for 10 minutes before serving.
That’s it — you did it. But hold on, I’ve got a few more tricks that will take this to another level…
Insider Tricks for Flawless Results
The Temperature Rule Nobody Follows
Many bakers bake at 375°F, but this temperature tends to cause the cookies to spread too much. Stick to 350°F for a balanced rise and a crisp edge. I’ve baked at 350°F for years and have never seen a cookie that overbakes or underbakes. The key is to keep the oven temperature consistent and to preheat fully before placing the cookies inside.
Why Your Nose Knows Best
Trust your nose when judging doneness. The aroma of caramelized sugar and butter will give you a clear indication that the cookies are ready. A sweet, buttery scent means the cookies are perfectly baked, while a faint, raw scent signals they need a little more time.
The 5-Minute Rest That Changes Everything
Letting the cookies rest on the baking sheet for 5 minutes after baking allows the edges to set and the center to finish cooking from residual heat. This simple step eliminates the common problem of cookies spreading while still hot. If you skip this step, the cookies may look perfect but feel soggy when you bite into them.
The Perfect Piping Technique
When piping the icing, use a piping bag with a 0.8 mm tip for clean lines. If you don’t have a bag, a plastic bag with a corner cut off works just fine. The key is to apply steady pressure and keep the bag at a 45-degree angle to the cookie surface. This ensures the icing adheres properly and doesn’t run off.
The Secret Ingredient Swap
If you’re craving a subtle spice, add a pinch of ground ginger or cinnamon to the dough. This adds warmth and depth, especially during the fall season. The ginger’s slight heat balances the sweetness, making the cookies more complex. I’ve used this trick at holiday parties, and guests always ask for the recipe.
Creative Twists and Variations
This recipe is a playground. Here are some of my favorite ways to switch things up:
Pumpkin Spice Cookies
Add 1 teaspoon of pumpkin spice mix to the dough for a seasonal twist. The spices create a warm, comforting flavor that pairs well with the orange icing. This version is perfect for Thanksgiving or a cozy winter afternoon.
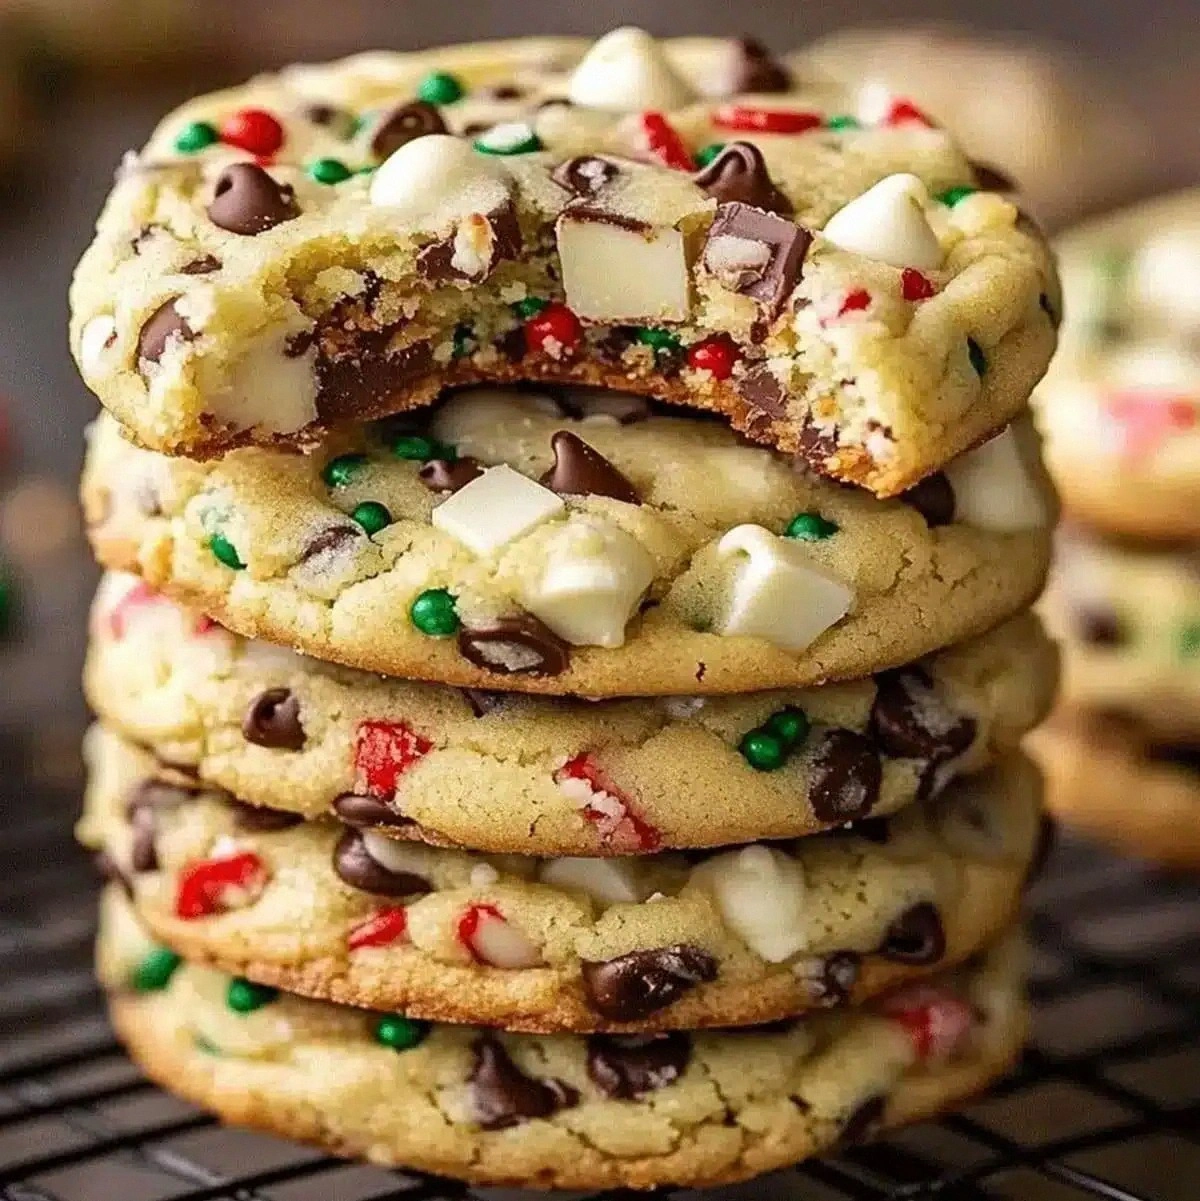
Chocolate‑Chunk Jack‑O‑Lanterns
Fold in 1 cup of semi‑sweet chocolate chips before rolling out the dough. The chocolate adds richness and a slightly bitter contrast to the sweet icing. These cookies are a hit with chocolate lovers and can be served at birthday parties.
Citrus‑Burst Cookies
Replace the vanilla extract with a combination of orange and lemon zest. The bright citrus flavors elevate the cookie’s freshness. This variation is ideal for summer gatherings or a refreshing dessert.
Nutty Brownie‑Inspired Cookies
Add 1/2 cup of chopped walnuts or pecans to the dough for a nutty crunch. The nuts provide a delightful texture contrast and a deeper flavor profile. These cookies pair well with a glass of milk or a latte.
Gluten‑Free Edition
Use a gluten‑free all‑purpose blend that includes xanthan gum. Keep the same ratios, but add an extra tablespoon of butter to compensate for the drier mix. The cookies will still be chewy and sweet, making them a safe option for gluten‑sensitive guests.
Mini‑Size Jack‑O‑Lanterns
Reduce the dough thickness to 1/8 inch and use a smaller cookie cutter. The result is a bite‑size treat that’s perfect for party platters or snack trays. The smaller size also makes the icing process quicker.
Storing and Bringing It Back to Life
Fridge Storage
Store the baked cookies in an airtight container at room temperature for up to 5 days. If you want to keep them fresher, place a slice of bread inside the container; the cookies will absorb the moisture and stay soft longer.
Freezer Friendly
For longer storage, place the cookies in a freezer bag and freeze for up to 3 months. Thaw at room temperature for 30 minutes before serving. The cookies will retain their flavor and texture when properly stored.
Best Reheating Method
To revive frozen or stale cookies, preheat the oven to 300°F (150°C) and bake for 5 minutes. If the cookies feel dry, add a tiny splash of water to the baking sheet before placing the cookies; the steam will help them steam back to perfection. Let them cool for a few minutes before enjoying.