I was in the middle of a midnight snack raid when the kitchen turned into a culinary battlefield. A rogue slice of pepperoni had slipped onto the countertop, the aroma of fresh dough mingled with the sharp tang of tomato sauce, and my phone buzzed with a notification: “New recipe alert.” I stared at the screen, half hoping for a recipe that would rescue the chaos, half fearing another disaster. The moment I tapped the link, a wave of excitement rushed through me—because this wasn’t just another pita pizza; it was a revelation.
Picture this: the golden, slightly charred edge of a warm pita, the glossy sheen of tomato sauce that glistens like a glossy magazine cover, and the molten mozzarella that stretches like a lazy river of cheese. The scent is a symphony of oregano, basil, and garlic, rising like incense from a summer campfire. The sound? A gentle crackle as the crust sizzles in the pan, a subtle hiss that signals the first bite is about to arrive. The texture is a paradox: crisp on the outside, chewy on the inside, with a burst of fresh toppings that dance on the tongue. I could almost taste the tang of fresh basil and the smoky hint of pepperoni before I even took a bite.
What sets this version apart is the meticulous balance between simplicity and sophistication. It uses everyday pantry staples but elevates them with a few clever twists—think a drizzle of olive oil that creates a crisp, golden finish, or a sprinkle of grated Parmesan that adds a nutty depth. The pita base is pre‑toasted to lock in the crunch, the sauce is seasoned with a dash of red pepper flakes for a subtle heat that never overwhelms, and the toppings are layered strategically to keep the dough from getting soggy. Most recipes get this completely wrong, layering everything at once and ending up with a soggy mess. Here, every element has its moment and its place.
And here’s a little secret: I added a splash of balsamic glaze after baking to give the pizza a caramelized finish that turns every bite into a sweet‑savory experience. I dare you to taste this and not go back for seconds. Picture yourself pulling this out of the oven, the whole kitchen smelling incredible, the first slice revealing a perfect golden crust, and the cheese bubbling in a way that makes you question why you ever settled for store‑bought pizza. Let me walk you through every single step—by the end, you’ll wonder how you ever made it any other way.
What Makes This Version Stand Out
- Flavor: The sauce is a bold blend of crushed tomatoes, garlic, and a hint of smoked paprika that gives it depth without overpowering the other ingredients.
- Texture: The pita is pre‑toasted to a crisp that holds up against the sauce and toppings, preventing sogginess while maintaining a chewy interior.
- Simplicity: With just a handful of pantry staples, you can create a gourmet pizza experience that feels indulgent but is actually quick and easy.
- Uniqueness: A splash of balsamic glaze after baking adds a sweet‑acidic layer that is rarely found in conventional pizza recipes.
- Crowd Reaction: Friends who have tried this rave about how the cheese stretches like silk and the toppings stay perfectly distributed.
- Ingredient Quality: Using fresh basil, high‑quality mozzarella, and a good olive oil transforms the dish into a culinary delight.
- Cooking Method: A two‑step process—pre‑toasting the pita and then baking—ensures maximum flavor extraction and texture.
- Make‑Ahead Potential: You can assemble the pizzas a day ahead, refrigerate, and bake when ready, making it perfect for parties.
Alright, let's break down exactly what goes into this masterpiece. Now, a quick kitchen hack:
Inside the Ingredient List
The Flavor Base
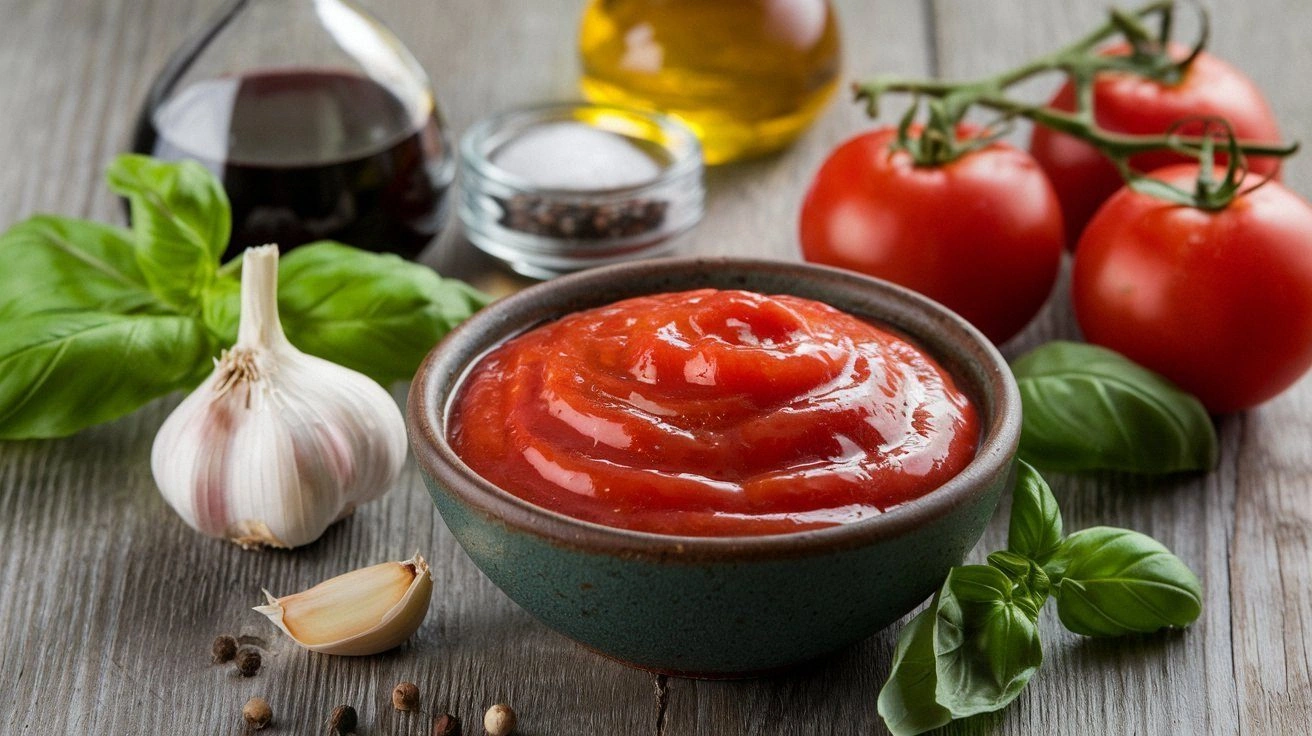
At the heart of this pizza lies the sauce—a simple yet powerful mix that coats the pita like velvet. We start with one cup of ripe crushed tomatoes, a tablespoon of tomato paste for thickness, and a splash of red wine that adds a subtle depth. Garlic powder and onion powder give it a savory backbone, while dried oregano and basil bring herbal brightness. If you’re a fan of a little heat, a pinch of red pepper flakes will do the trick. Skipping any of these components will leave the sauce flat, and the pizza will feel like it’s missing a key note in a symphony.
The Texture Crew
The pita itself is the backbone of the texture. Choose whole‑wheat or white pita; whole‑wheat gives a nuttier bite, while white pita offers a lighter feel. Pre‑toasting the pita in a hot skillet for 30 seconds per side creates a golden, slightly crisp shell that resists sogginess from the sauce. The cheese mix—one cup shredded mozzarella and half a cup grated Parmesan—provides a creamy, melty core that stretches like a fine silk ribbon when you pull a slice. The combination of cheeses balances moisture and flavor, ensuring that each bite is both indulgent and satisfying.
The Unexpected Star
The splash of balsamic glaze is the unexpected star that elevates this pizza from ordinary to extraordinary. A tablespoon of glaze drizzled over the finished pizza adds a caramelized sweetness that cuts through the richness of the cheese. This subtle nuance turns the dish into a gourmet experience, and it’s a trick that many pizza lovers overlook. If you’re not a fan of balsamic, a light dusting of sea salt and cracked pepper can also bring out the depth of the sauce.
The Final Flourish
The toppings are where personal preference shines. Fresh sliced bell peppers, black olives, and pepperoni add crunch, color, and savory depth. A handful of fresh basil leaves, added after baking, bring a bright, herbaceous finish that balances the richness of the cheese. If you prefer a vegetarian option, swap the pepperoni for sautéed mushrooms or roasted cherry tomatoes. Each topping is carefully chosen to complement the sauce and the pita, creating a harmonious bite that feels both complex and approachable.
Everything’s prepped? Good. Let's get into the real action.
The Method — Step by Step
- Preheat your oven to 425°F (220°C). While the oven warms, heat a cast‑iron skillet over medium‑high heat. Once hot, place each pita in the skillet and toast for 30 seconds on each side, or until the edges are golden brown. This step locks in the pita’s structure and gives it a crisp texture that won’t get soggy from the sauce.
- In a small bowl, combine the crushed tomatoes, tomato paste, garlic powder, onion powder, oregano, basil, red pepper flakes, and a splash of red wine. Whisk until smooth, then taste and adjust seasoning with salt and pepper. The sauce should have a bright, tomato‑rich flavor that’s not too acidic.
- Spread a thin layer of sauce over each toasted pita, leaving a small border around the edges. The sauce should coat the pita like velvet, not pool. This ensures each bite has a balanced flavor without overwhelming the crust.
- Sprinkle a generous amount of shredded mozzarella over the sauce, followed by grated Parmesan. The cheese should cover the surface evenly, creating a gooey, melty layer once baked.
- Add your chosen toppings—sliced bell peppers, olives, pepperoni, or any other favorites. Arrange them in a single layer so they cook evenly and don’t clog the surface. Remember, a well‑distributed topping is key to a perfect pizza.
- Drizzle a teaspoon of olive oil over the top of each pizza. This extra fat adds shine and helps the cheese brown to a golden finish.
- Transfer the skillet to the preheated oven and bake for 10–12 minutes, or until the cheese is bubbly and the edges of the pita are crisp. The smell of melted cheese and toasted pita should fill your kitchen like a warm hug.
- Remove the skillet from the oven and immediately drizzle a tablespoon of balsamic glaze over each pizza. The glaze will caramelize slightly, adding a sweet‑acidic layer that balances the richness.
- Let the pizzas rest for 2 minutes before slicing. This short rest allows the cheese to set, preventing it from sliding off the pita when you cut.
- Garnish with fresh basil leaves, a sprinkle of cracked black pepper, and a final drizzle of olive oil. Slice, serve, and enjoy the burst of flavors that dance on your palate.
That’s it— you did it. But hold on, I've got a few more tricks that'll take this to another level.
Insider Tricks for Flawless Results
The Temperature Rule Nobody Follows
Many cooks bake pizza at a lower temperature, thinking it will cook faster. The truth is, a high heat of 425°F (220°C) is essential for achieving that perfect golden crust and bubbly cheese. Baking at too low a temperature results in a doughy, soggy base that never quite rises.
Why Your Nose Knows Best
Before you even taste the pizza, your nose is already judging the quality of the sauce. A well‑seasoned sauce will emit a deep, tomatoy aroma that hints at the layers of flavor inside. If the sauce smells flat, it’s time to tweak the seasoning.
The 5-Minute Rest That Changes Everything
Letting the pizza rest for 5 minutes after baking allows the cheese to set and the flavors to meld. This simple step prevents the cheese from sliding off the pita when you slice and enhances the overall texture.
Keep It Simple With Fresh Basil
Fresh basil added after baking gives a bright, herbaceous finish that cuts through the richness. Store basil in a glass of water, cover loosely with plastic, and refrigerate; it stays fresh for up to a week.
Use a Skillet for the Perfect Crunch
A skillet gives the pita an even, golden crust that a pizza stone can’t replicate. The direct contact with the hot surface creates micro‑cracks that enhance the crunch, making each bite a delightful contrast.
Creative Twists and Variations
This recipe is a playground. Here are some of my favorite ways to switch things up:
Mediterranean Delight
Swap pepperoni for sliced kalamata olives, add artichoke hearts, and finish with a sprinkle of feta cheese. The briny olives and tangy feta create a Mediterranean vibe that’s both refreshing and savory.
Spicy Mexican Fusion
Replace the tomato sauce with a smoky chipotle‑infused sauce, top with black beans, corn, and diced jalapeños, and finish with a drizzle of lime crema. This version delivers a fiery kick that’s perfect for summer parties.
Vegetarian Garden
Omit the meat entirely, add roasted zucchini, cherry tomatoes, and spinach, and sprinkle with goat cheese. The fresh veggies bring a vibrant color palette that’s both wholesome and indulgent.
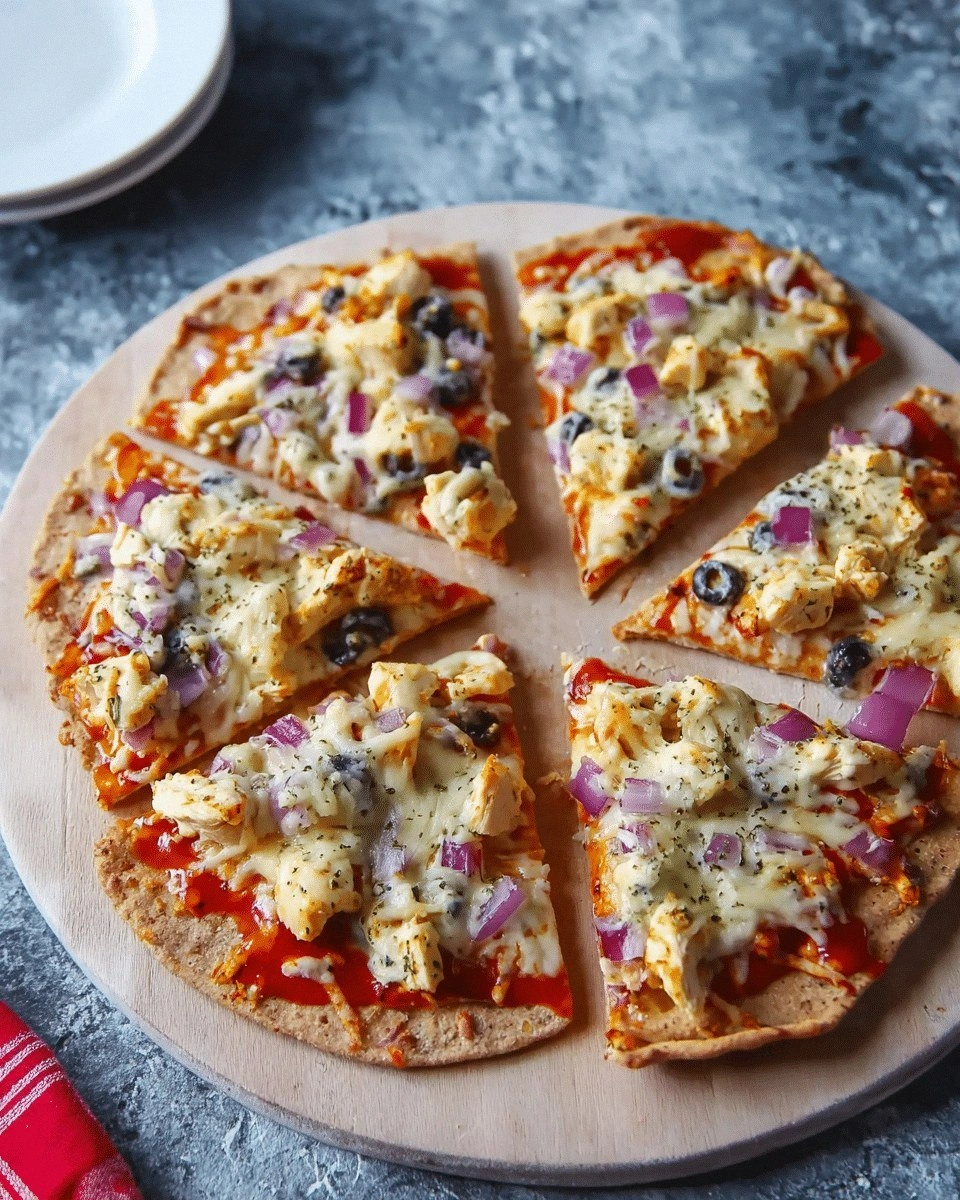
BBQ Chicken Twist
Use shredded BBQ chicken as the main protein, top with red onion slices, and finish with a handful of cilantro. The smoky barbecue sauce pairs beautifully with the crispy pita.
Dessert Pita Pizza
For a sweet spin, spread a thin layer of Nutella over the pita, top with sliced strawberries, and finish with a dusting of powdered sugar. This sweet version is a delightful surprise for dessert lovers.
Storing and Bringing It Back to Life
Fridge Storage
Store leftover pizzas in an airtight container for up to 3 days. Reheat in a skillet over medium heat for 2–3 minutes to restore crispness.
Freezer Friendly
Wrap each pizza tightly in foil and freeze for up to 2 months. Thaw overnight in the refrigerator, then reheat in the oven at 350°F (175°C) for 10 minutes.
Best Reheating Method
Add a tiny splash of water before reheating to create steam that keeps the pita from drying out. The steam helps the cheese melt back to perfection, giving you that fresh‑baked texture.