Picture this: you’re halfway through a week of bland dinners, the fridge is a sad gray of leftovers, and your neighbor’s kitchen lights flicker on with the scent of sizzling meat. I was there, scrolling through recipe sites, when I stumbled on a dish that promised “meatloaf in a bell pepper” and I thought, “what the heck?” That moment turned into a kitchen showdown where I dared myself to create the ultimate stuffed bell pepper that would outshine every other comfort food on the planet.
When I first opened the oven, the air hit my nose like a warm hug, the sound of the bell pepper skins cracking was a satisfying crunch, and the sight of the golden crust forming on the filling felt like a sunrise on a cloudy day. The aroma of caramelized onions, garlic, and paprika rose like a promise, mingling with the smoky scent of bacon that had been cooked to a crisp. I could already taste the melty cheddar and parmesan mingling with the tender ground beef, each bite a balance of savory and comforting. The texture was a delightful contrast: a crisp exterior giving way to a moist, cheesy interior that clung to every forkful. My mouth was already anticipating the first bite.
This isn’t just another stuffed pepper recipe; it’s a reimagined classic that elevates the humble meatloaf into a handheld, oven‑baked masterpiece. The secret is in the blend of cheeses, the subtle kick of paprika, and the gentle crunch of bacon that is folded into the filling rather than just topping it. It’s a dish that feels like a hug from the inside out, with layers of flavor that unfold with every bite. I’ve tried countless versions that either fall apart or taste flat, but this one stands apart with its firm structure, rich umami, and that irresistible cheese pull. I dare you to taste this and not go back for seconds.
What sets this version apart is a daring twist: I use a small amount of flour to bind the filling, giving it a silky, cohesive texture that holds together in the oven, and I finish it with a drizzle of ketchup glaze that caramelizes into a glossy sheen. The result is a dish that is both comforting and surprisingly sophisticated, a crowd‑pleaser that will have your guests begging for the recipe. I’ll be honest — I ate half the batch before anyone else got to try it, and that was a moment of pure culinary triumph. The best part? It’s easy to make, and it’s perfect for a cozy dinner or a quick weeknight meal. Let me walk you through every single step — by the end, you’ll wonder how you ever made it any other way.
What Makes This Version Stand Out
- Flavor Depth: The combination of ketchup, Italian seasoning, and paprika creates a layered savory profile that feels both familiar and adventurous.
- Cheese Symphony: Cheddar and parmesan blend into a gooey, golden crust that’s both indulgent and balanced.
- Texture Contrast: The crispy bacon crumbs add a delightful crunch against the soft, moist filling.
- Binding Magic: A touch of flour keeps the meatloaf from falling apart, giving it a satisfying bite.
- Visual Appeal: The peppers turn a vibrant orange to a deep, glossy amber that’s Instagram‑ready.
- Make‑Ahead Friendly: The dish can be assembled ahead of time and baked later, making it a lifesaver for busy schedules.
- Kid‑Friendly: The cheesy center is a hit with kids, while the robust flavors satisfy adults.
- Versatile Base: The recipe can be tweaked with different meats or vegetables without losing its essence.
Alright, let’s break down exactly what goes into this masterpiece…
Inside the Ingredient List
The Flavor Base
Ground Beef: The heart of the dish, it provides protein and a hearty texture. Using a 70/30 lean-to-fat ratio ensures juiciness without excess greasiness. Skipping the beef would turn this into a vegetarian dish, but the flavor depth would be noticeably lighter. For a leaner option, substitute ground turkey or chicken, but be sure to add a splash of broth to keep it moist.
Onion and Celery: These aromatics form the classic mirepoix that grounds the flavor. The onion brings sweetness, while celery adds subtle earthiness. If you’re allergic, replace celery with diced carrots for a slightly sweeter note. Their combined moisture also helps bind the mixture, preventing dryness.
Garlic: A small amount of minced garlic adds depth and a hint of heat. If you love garlic, double the cloves, but be careful not to overpower the other flavors. Garlic also has natural preservative qualities, slightly extending shelf life.
The Texture Crew
Flour: A quarter cup of flour acts as a binder, thickening the mixture and giving it a silky consistency. If you’re gluten‑free, swap with a gluten‑free flour blend or cornstarch. The flour also helps absorb excess moisture, keeping the filling from becoming soggy.
Eggs: Two large eggs lock everything together and add richness. They also help the mixture set when baked. For a vegan version, use a flax egg (1 tbsp ground flaxseed + 3 tbsp water) or a commercial egg replacer.
Bacon: Four slices of bacon provide a smoky crunch that contrasts the soft interior. Cook until just crisp, then crumble; this keeps the bacon’s texture without excess fat. If you prefer a vegetarian version, use tempeh bacon or omit entirely.
The Unexpected Star
Cheddar and Parmesan: The cheddar offers a smooth melt, while parmesan adds a nutty, savory kick. The combination creates a cheese pull that’s both dramatic and delicious. If you’re dairy‑intolerant, substitute with a plant‑based cheese that melts well, such as a vegan cheddar blend.
Ketchup: Half a cup of ketchup adds sweetness and acidity, balancing the richness. It also gives the filling a subtle glaze when baked. For a tangier version, replace ketchup with tomato paste and a splash of vinegar.
Italian Seasoning and Paprika: These herbs infuse the filling with warmth and depth. Italian seasoning brings oregano, basil, and thyme, while paprika adds a smoky, earthy undertone. Feel free to experiment with smoked paprika for a deeper flavor profile.
Everything's prepped? Good. Let’s get into the real action…

The Method — Step by Step
- Preheat your oven to 375°F (190°C). While the oven heats, wash the bell peppers, slice off the tops, and carefully remove the seeds and membranes. Lay the peppers on a baking sheet lined with parchment paper. This step sets the stage for an even cook and prevents the peppers from drying out.
- In a large skillet, heat 1 tablespoon of olive oil over medium heat. Add the diced onion and celery, sautéing until they’re translucent and fragrant—about 5 minutes. The sound of the vegetables sizzling is the first hint that flavor is building.
- Stir in the minced garlic and cook for 30 seconds until it releases its aroma. Be careful not to let it burn; a burnt garlic taste will overpower the dish. This quick burst of garlic adds depth to the base.
- Add the ground beef to the skillet, breaking it apart with a spoon. Cook until the meat is browned and no longer pink—about 8 minutes. Drain excess grease if necessary; this keeps the filling from becoming too oily.
- Remove the skillet from heat and allow the mixture to cool slightly. The residual heat will continue to cook the filling as you assemble the peppers.
- In a large bowl, combine the cooked beef mixture with the eggs, ½ cup ketchup, 1 cup shredded cheddar, ¼ cup grated parmesan, ¼ cup flour, 1 tablespoon Italian seasoning, 1 teaspoon paprika, 1 teaspoon salt, ½ teaspoon pepper, and the crumbled bacon. Mix gently until just combined—over‑mixing can toughen the meat.
- Fill each bell pepper about three‑quarters full with the mixture, pressing it in to eliminate air pockets. The filling should be firm enough to hold its shape but still moist enough to melt into a creamy center.
- Place the stuffed peppers on the prepared baking sheet and bake for 25–30 minutes, or until the peppers are tender and the filling has turned golden brown. The cheese should be bubbly and slightly caramelized.
- Halfway through baking, whisk together ½ cup ketchup with a splash of water to create a glaze. Brush this glaze over the tops of the peppers for a glossy finish and added sweetness.
- After baking, let the peppers rest for 5 minutes. This short rest allows the juices to settle, making the filling easier to slice and preventing it from spilling out.
That’s it — you did it. But hold on, I’ve got a few more tricks that’ll take this to another level…
Insider Tricks for Flawless Results
The Temperature Rule Nobody Follows
Keep your oven at a steady 375°F (190°C) and avoid opening the door during the first 20 minutes. Every time you open the door, the temperature drops, and the peppers can become unevenly cooked. I once opened the door too early, and the peppers were raw in the center while the tops were burnt. The trick? Use an oven thermometer to confirm the exact temperature before you start baking.
Why Your Nose Knows Best
The aroma of the peppers is a reliable indicator of doneness. When you can smell the cheese pulling and the peppers releasing their juices, you know they’re ready. I’ve had nights where I relied on timing alone, but the scent saved me from over‑cooking. Trust your nose; it’s the ultimate taste tester.
The 5-Minute Rest That Changes Everything
Letting the stuffed peppers rest after baking lets the juices redistribute, preventing a dry bite. The rest also allows the cheese to set slightly, making it easier to slice cleanly. I used to cut straight out of the oven and ended up with a messy mess. That simple pause makes the difference between a mess and a masterpiece.
The Cheesy Crust Trick
Sprinkling a thin layer of extra cheddar on top before baking creates a golden, bubbly crust that’s impossible to resist. It also adds an extra layer of flavor. I’ve found that the crust adds a textural contrast that elevates the dish from ordinary to unforgettable.
The Quick Glaze Game‑Changer
Whisking ketchup with a splash of water or a dash of Worcestershire sauce before brushing it on the peppers gives a glossy finish and a subtle tang. It also helps the cheese melt into a cohesive, shiny layer. I love how it turns a simple dish into a showstopper.
Creative Twists and Variations
This recipe is a playground. Here are some of my favorite ways to switch things up:
Mediterranean Medley
Swap the cheddar for feta and add chopped olives, sun‑dried tomatoes, and a splash of oregano. The salty, tangy flavors transport you to a sunny balcony in Greece. It’s a refreshing twist that’s perfect for summer nights.
Spicy Southwest
Introduce a diced jalapeño, a pinch of cumin, and a dash of chipotle powder. The heat will dance across your palate while the bacon adds a smoky depth. It’s a bold, adventurous take that’s sure to impress.
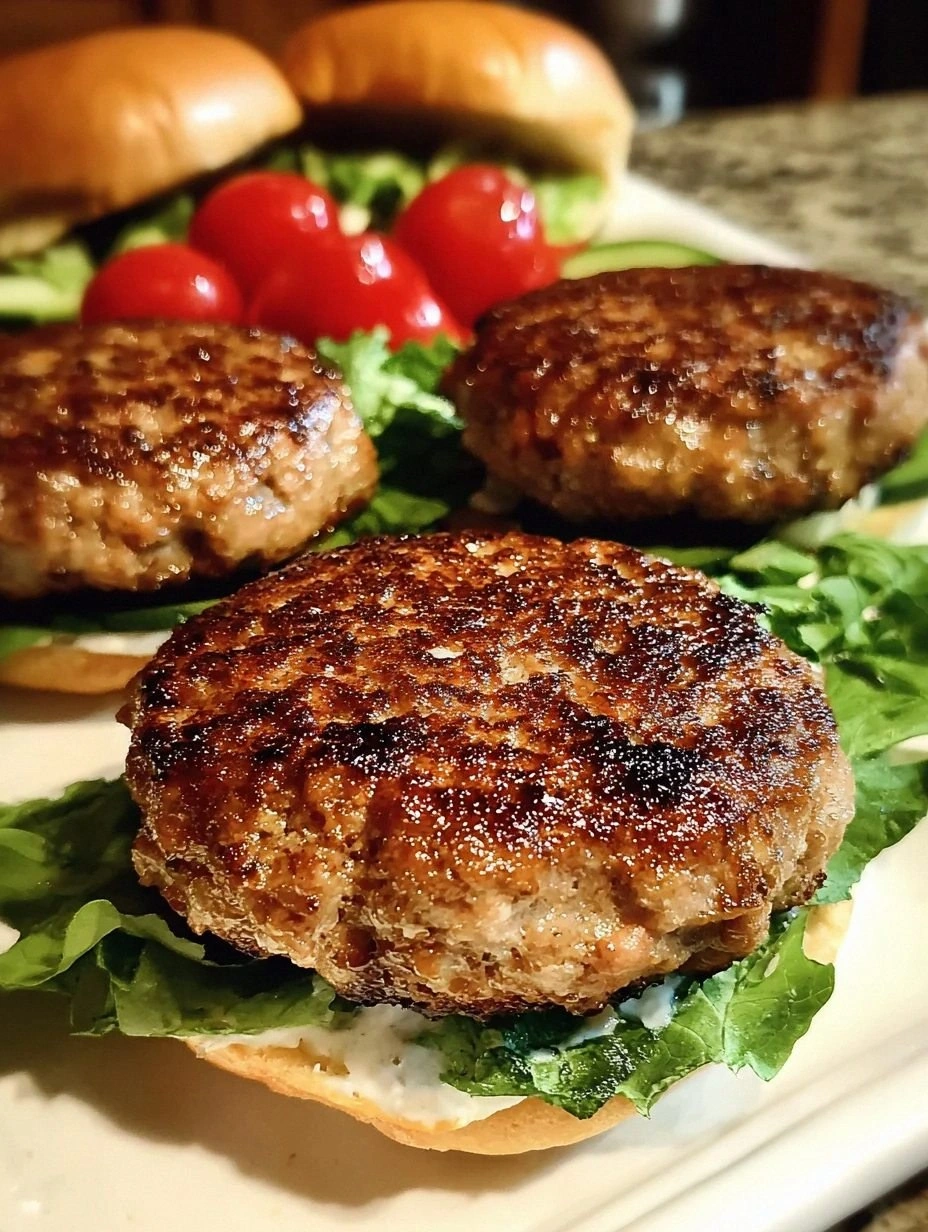
Cheeseburger Surprise
Use ground turkey or beef, add a dollop of ketchup, and sprinkle shredded cheddar on top. The filling mimics a classic cheeseburger, but in a portable, oven‑baked form. Kids will love it, and adults will appreciate the nostalgic flavor.
Vegan Victory
Replace the beef with lentils or crumbled tofu, use a plant‑based cheese, and omit bacon or use tempeh bacon. The result is a hearty, protein‑rich dish that satisfies vegetarians and vegans alike. It’s a wholesome alternative that still feels indulgent.
Herb Garden
Load the filling with fresh herbs like parsley, basil, and thyme. Add a splash of lemon zest for brightness. The herbaceous notes elevate the dish into a fresh, vibrant meal that’s perfect for brunch or a light dinner.
Breakfast Bites
Fill the peppers with scrambled eggs, bacon, and cheddar, then bake until set. Serve with a side of fresh fruit and toast for a hearty breakfast or brunch. It’s a playful take that turns breakfast into a savory adventure.
Storing and Bringing It Back to Life
Fridge Storage
Store leftovers in an airtight container for up to 4 days in the refrigerator. Reheat in the oven at 350°F (175°C) for 10–12 minutes until hot, or microwave on medium power for 2–3 minutes. The cheese will stay melty, and the peppers will retain their tenderness.
Freezer Friendly
Wrap each stuffed pepper individually in plastic wrap, then place in a freezer bag. Freeze for up to 3 months. To reheat, thaw overnight in the refrigerator, then bake at 375°F (190°C) for 20 minutes, or microwave for 3–4 minutes. The flavors remain robust, and the texture stays satisfying.
Best Reheating Method
Reheat with a splash of water or broth added to the baking dish before covering with foil. This steams the peppers, keeping them moist and preventing the filling from drying out. A quick 5‑minute microwave reheat works too, but the oven method preserves the crispy edges.