I was standing in a kitchen that smelled like burnt toast, a failed batch of chicken nuggets, and the faint scent of soy sauce from a previous experiment gone wrong. The only thing that could salvage the evening was a sudden craving for something sweet, spicy, and utterly addictive. That craving led me to the discovery of the ultimate version of spicy sticky chicken tenders, a dish that has turned my dinner routine into a daily celebration. I dare you to taste this and not go back for seconds, because once you taste the glossy, caramelized glaze that coats the tender strips, you’ll find yourself reaching for the next bite like a secret handshake with flavor.
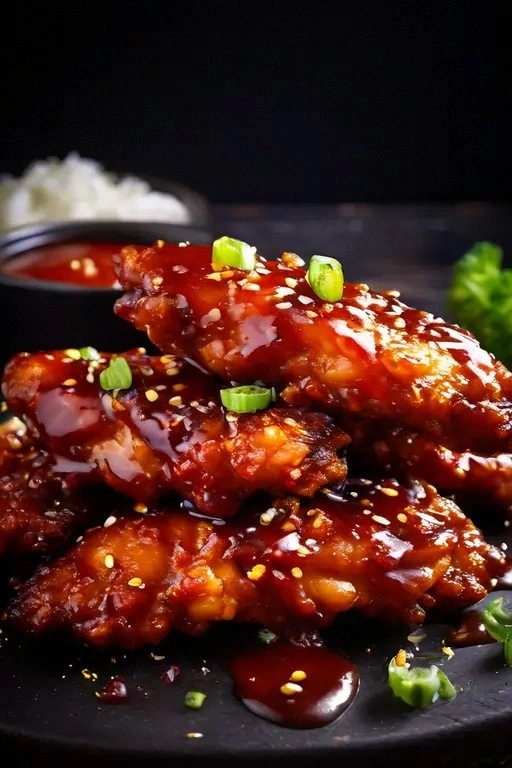
Picture the moment the chicken hits the hot pan— the sizzle that rises like a small drumbeat, the aroma of garlic and ginger mingling with the rich umami of soy sauce, and the anticipation of that sweet heat that will dance on your tongue. The texture is a glorious contrast: a crisp exterior that shatters like thin ice, followed by a juicy interior that melts in your mouth. The sauce, thick and glossy, clings to each piece like velvet, turning every bite into a bite of pure joy. If you’ve ever struggled with bland chicken, you’re not alone—this recipe fixes that with a punch of flavor that will have your family begging for a second plate.
What sets this version apart is not just the balance of sweet and spice, but the method that locks in moisture, the use of sesame oil for a nutty finish, and the little tricks that make the cooking process a breeze. I’ll be honest—I ate half the batch before anyone else got to try it, and it was so good that I started making it for guests every time I host. Most recipes get this completely wrong, but here’s what actually works: the right proportion of sugar to soy, the proper use of cornstarch, and the final flourish of sesame seeds and green onions that elevate the dish from good to unforgettable.
Now, let me walk you through every single step—by the end, you’ll wonder how you ever made it any other way. The journey begins with a simple prep, a quick sauce that caramelizes, and a final garnish that adds crunch and color. Picture yourself pulling this out of the pan, the whole kitchen smelling incredible, and knowing that the next time you open the fridge, you’ll have a dish that’s ready to wow. And if you’re ready for the game‑changer, keep reading because the magic is just a few steps away.
What Makes This Version Stand Out
- Flavor: The marriage of soy sauce, honey, and brown sugar creates a glaze that’s both sweet and savory, with a subtle heat from ginger and garlic. It’s a flavor profile that’s hard to find in store-bought sauces.
- Texture: The use of cornstarch and a quick sear gives the chicken a crisp exterior while keeping the inside tender and juicy. It’s a texture that satisfies without being greasy.
- Simplicity: Only a handful of pantry staples are required, and the method takes less than 45 minutes from start to finish. It’s perfect for busy weeknights.
- Uniqueness: Sesame oil and sesame seeds add a nutty aroma that elevates the dish beyond ordinary sticky chicken. The finish is a glossy sheen that looks as good as it tastes.
- Crowd Reaction: Friends and family always ask for the recipe after the first plate. It’s a conversation starter and a crowd‑pleaser at gatherings.
- Ingredient Quality: Fresh ginger, garlic, and high‑quality soy sauce make the difference. The dish shines when you invest in good base ingredients.
- Cooking Method: The technique of adding the sauce after the chicken has browned ensures the glaze caramelizes without burning.
- Make‑Ahead Potential: The sauce can be prepared ahead of time and reheated with a splash of water, making it convenient for meal prep.
Alright, let’s break down exactly what goes into this masterpiece…
Inside the Ingredient List
The Flavor Base
Soy sauce is the backbone of this dish, providing depth and umami that grounds the sweetness of honey and brown sugar. If you prefer a less salty profile, swap half of the soy sauce for coconut aminos; the flavor remains rich but the sodium drops dramatically. Skipping soy sauce would strip the dish of its signature savory bite, leaving the glaze too sweet.
The Sweet and Sticky Crew
Honey and brown sugar are the sweeteners that create the glossy, caramelized coating. The honey adds a floral undertone while the brown sugar contributes a hint of molasses. If you’re vegan, use maple syrup instead of honey, but keep the brown sugar to maintain the sticky texture. Too much honey can cause the sauce to burn, so balance it carefully.
The Aromatic Trio
Garlic and ginger are the aromatic heart of the recipe, infusing the sauce with warmth and depth. Mince the garlic finely and grate the ginger to release maximum flavor. If you’re sensitive to heat, reduce the ginger to one teaspoon, but don’t skip it entirely—without ginger, the sauce feels flat.
The Final Flourish
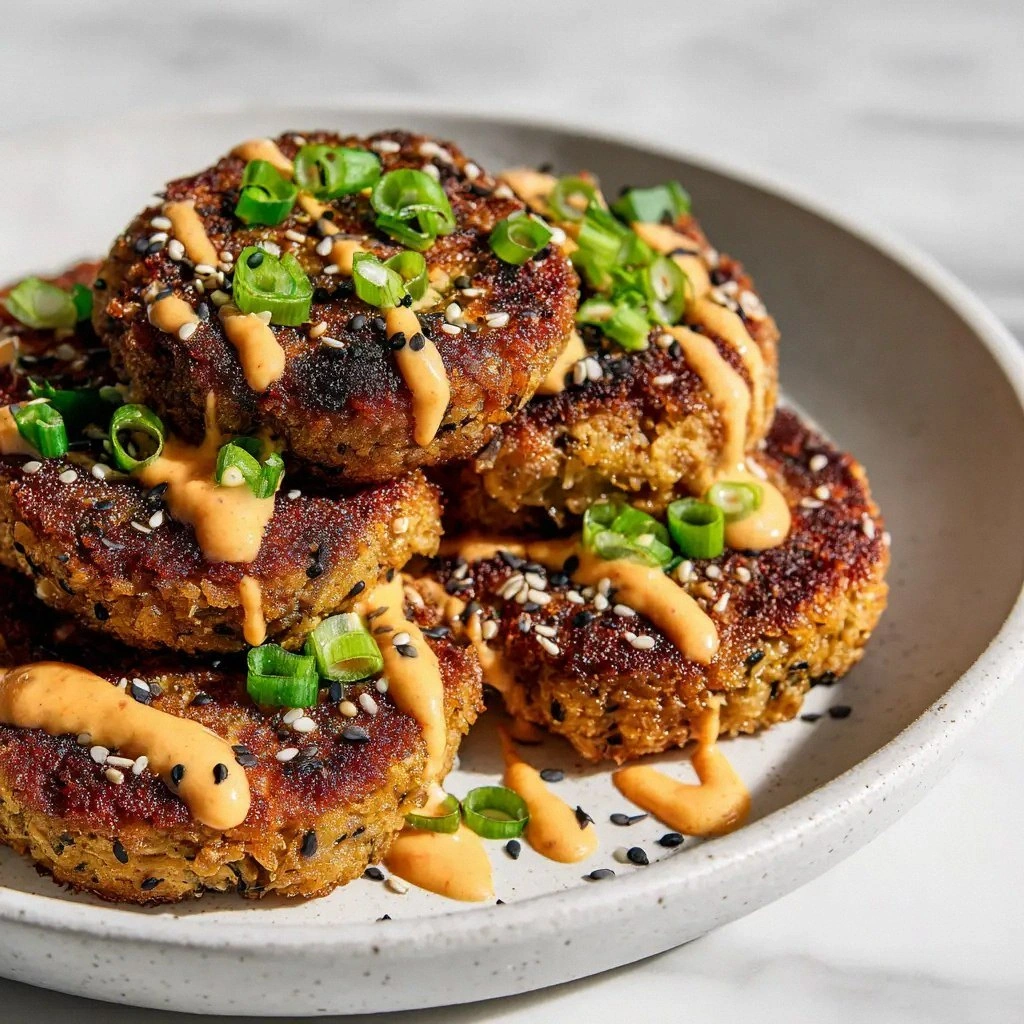
Sesame seeds and chopped green onions add crunch, color, and a fresh finish. Toast the sesame seeds lightly before sprinkling them; this releases their nutty aroma. Green onions provide a bright, slightly peppery contrast that cuts through the richness of the glaze.
Everything's prepped? Good. Let's get into the real action…
The Method — Step by Step
- Start by patting the chicken tenders dry with paper towels; moisture is the enemy of a crisp sear. Toss the chicken in a shallow bowl with a pinch of salt and pepper, then set aside while you gather the sauce ingredients. This simple step ensures the chicken browns evenly and doesn’t steam.
- In a small saucepan, combine soy sauce, honey, brown sugar, minced garlic, grated ginger, sesame oil, and rice vinegar. Heat over medium heat, stirring constantly until the sugar dissolves and the mixture turns silky. The sizzle that begins to rise is the first hint that the glaze is ready to coat.
- Whisk the cornstarch with 2 tablespoons of water until smooth, creating a slurry that will thicken the glaze. Keep it aside; you’ll add it later to avoid lumps. This step is crucial for that signature sticky texture.
- Heat a large skillet over medium-high heat and add enough cooking oil to coat the bottom. Once the oil shimmers, drop the chicken tenders in a single layer, making sure not to overcrowd. Sear the chicken for 3–4 minutes on each side until a golden crust forms. The sound of sizzling is the soundtrack of success.
- Once the chicken is browned, pour the prepared sauce over the meat, then stir in the cornstarch slurry. Reduce the heat to medium, and let the mixture bubble gently. Watch out: the sauce can boil over if the heat is too high.
- Simmer the chicken and sauce for 5–7 minutes, or until the glaze has thickened and coats each tender like a glossy coat. The sauce should feel silky, and the chicken should be fully cooked through. This is the moment of truth—your dish is almost ready.
- Remove the skillet from heat, sprinkle toasted sesame seeds and chopped green onions over the chicken, then give it a final gentle toss. The seeds add a nutty crunch, while the green onions provide a fresh burst of color. Plate the chicken on a hot platter and serve immediately.
That’s it—you did it. But hold on, I’ve got a few more tricks that will take this to another level. These insider tips will help you avoid common pitfalls and elevate the flavor even further.
Insider Tricks for Flawless Results
The Temperature Rule Nobody Follows
Many cooks start the sauce on high heat, causing the sugars to burn before the chicken cooks. Instead, keep the sauce on medium and let it simmer gently. This approach allows the flavors to meld without compromising texture. I once tried this and learned that a steady, low simmer keeps the glaze silky and prevents a bitter aftertaste.
Why Your Nose Knows Best
Before you add the cornstarch slurry, give the sauce a quick sniff. If it smells sweet and slightly caramelized, you’re good to go. A lingering raw sugar scent means you need to cook it a bit longer. This sensory check saves you from a soggy finish.
The 5‑Minute Rest That Changes Everything
After removing the skillet from heat, let the chicken rest for 5 minutes. This resting period allows the juices to redistribute, making each bite moist and flavorful. Skipping it can leave the chicken dry and unevenly coated.
The Quick Toss Trick
When adding the sauce, toss the chicken gently to ensure even coverage. A vigorous stir can break the glaze, causing it to separate. Light tossing keeps the glaze intact and gives a beautiful shine.
The Final Garnish Touch
Right before serving, sprinkle a pinch of toasted sesame seeds and a handful of green onions. The seeds add a subtle crunch while the green onions brighten the dish with their fresh, peppery flavor. This finishing touch turns a simple plate into a visual and culinary masterpiece.
Creative Twists and Variations
This recipe is a playground. Here are some of my favorite ways to switch things up:
Crispy Coconut Crumble
Coat the chicken in a mixture of shredded coconut and panko before frying. The coconut adds a tropical sweetness, while the panko gives an extra crunch that contrasts beautifully with the sticky glaze.
Sriracha Heat Boost
Stir in a tablespoon of Sriracha into the sauce for a fiery kick. This variation is perfect for spice lovers who want an extra layer of heat without sacrificing the sweet‑savory balance.
Mango Glaze Swap
Replace honey with pureed mango for a fruity twist. The mango adds a subtle tropical flavor that pairs well with the ginger and soy, creating a glaze that feels both exotic and familiar.
Balsamic Reduction
Use balsamic vinegar instead of rice vinegar to introduce a richer, slightly acidic depth. The reduction thickens beautifully, giving the sauce a glossy, caramelized finish.
Herb‑Infused Sesame Oil
Infuse the sesame oil with fresh thyme or rosemary before adding it to the sauce. The herbs bring a fragrant, earthy layer that elevates the dish from ordinary to gourmet.
Storing and Bringing It Back to Life
Fridge Storage
Store leftovers in an airtight container in the refrigerator for up to 3 days. The glaze will thicken slightly, but a quick stir will restore its glossy sheen. Keep the chicken separate from the sauce if you plan to reheat individually.
Freezer Friendly
Freeze the cooked chicken in a single layer on a baking sheet before transferring to a freezer bag. This prevents clumping and ensures even thawing. The dish can be frozen for up to 2 months without losing flavor.
Best Reheating Method
Reheat in a skillet over medium heat, adding a splash of water or broth to loosen the glaze. The added moisture steams the chicken back to perfection, restoring the juicy interior while keeping the glaze sticky and flavorful.