Picture this: I’m in the middle of a Sunday brunch, the kitchen is a flurry of flour, eggs, and the sweet promise of chocolate, when the oven door slams open and a cloud of smoke curls toward the ceiling. I’m staring at a half‑baked cake that looks like a sad, brown pancake, and I swear I’ve never seen a disaster so deliciously tempting. My friends, I’m talking to you, have you ever had that moment when the kitchen feels like a battleground and the only thing that can salvage the day is a single, perfectly balanced recipe? I’m about to share the secret that turned that smoky nightmare into the most decadent chocolate cake I’ve ever made.
The aroma that fills the room is not just chocolate—it's a heady blend of roasted cocoa, vanilla, and a whisper of espresso that makes your nose do a little happy dance. The sound of the batter hitting the pan is a satisfying sizzle, like a tiny fireworks show, and the texture feels like silk that clings to your spoon. When you take that first bite, the cake is airy yet dense, with a moist crumb that melts in your mouth, and the chocolate flavor bursts like a velvet curtain opening to a dark, rich performance. The finish is a subtle hint of bitterness that balances the sweetness, leaving a lingering, almost nostalgic aftertaste that makes you want to taste again.
What sets this version apart is the meticulous balance between ingredients and technique. I’ve dialed in the perfect ratio of cocoa to flour, added a splash of boiling water to deepen the chocolate profile, and incorporated a touch of espresso to unlock the beans’ full potential. The batter is silky smooth, the crumb is fine and tender, and the frosting is a glossy, airy cloud of chocolate that coats the cake without overpowering it. If you’re tired of cakes that taste like cardboard or are too dense, this recipe is the antidote you’ve been waiting for.
And here’s a little secret: the trickiest part of this cake is the way the chocolate and water react during baking—an unexpected dance that creates a depth of flavor you won’t find in any other recipe. I dare you to taste this and not go back for seconds. Let me walk you through every single step—by the end, you’ll wonder how you ever made it any other way.
What Makes This Version Stand Out
- Flavor: The combination of high‑quality cocoa, a splash of espresso, and a hint of sea salt creates a chocolate experience that feels both luxurious and grounded.
- Texture: The batter’s airy consistency and the use of boiling water unlock a tender crumb that stays moist even after cooling.
- Simplicity: Despite its depth, the recipe uses only common pantry staples—no exotic ingredients or complex steps.
- Uniqueness: The subtle espresso infusion gives the cake a coffee‑chocolate synergy that elevates it above standard chocolate cakes.
- Crowd Reaction: Friends who try this cake often say it feels like a “first‑time” chocolate experience, even if they’re seasoned dessert lovers.
- Ingredient Quality: Using fair‑trade dark cocoa and fresh eggs ensures that each bite carries a sense of ethical indulgence.
- Cooking Method: The two‑bowl technique keeps the batter smooth while preventing overmixing, which can compromise the cake’s lightness.
- Make‑Ahead Potential: The cake can be baked and stored in the refrigerator for up to 3 days, making it perfect for parties or last‑minute gatherings.
Alright, let’s break down exactly what goes into this masterpiece…
Inside the Ingredient List
The Flavor Base
Cocoa powder is the soul of this cake, and using a high‑percentage dark cocoa (at least 70%) gives it a robust, slightly bitter undertone that balances the sweetness. The espresso powder, though optional, acts like a flavor enhancer, unlocking the chocolate’s deeper notes and adding a subtle coffee aroma that lingers. If you skip the espresso, the cake will still be delicious, but it will feel a bit flat compared to the full-bodied version.
The Texture Crew
Flour, baking powder, and baking soda are the structural backbone that gives the cake its rise and crumb. The combination of all‑purpose flour and a small amount of cocoa powder ensures a fine, tender crumb without a gritty texture. Baking soda and baking powder work together to create the lift; if you omit either, the cake will be dense and heavy.
The Unexpected Star
Boiling water is the secret weapon that unlocks the cocoa’s full flavor and creates a silky batter. When hot water meets cocoa, it releases the chocolate’s aromatic compounds, giving the cake a depth that dry cocoa alone cannot achieve. Skipping this step results in a cake that tastes like a dry chocolate bar rather than a moist, luscious dessert.
The Final Flourish
The frosting—made from butter, powdered sugar, and cocoa—provides a creamy, glossy finish that complements the cake’s moisture. The butter’s richness balances the chocolate’s bitterness, while the powdered sugar ensures a smooth, non‑grainy texture. A touch of vanilla in the frosting adds a warm, fragrant undertone that ties everything together.
Everything’s prepped? Good. Let’s get into the real action…
The Method — Step by Step
- Preheat the oven to 350°F (175°C). Line two 9‑inch round cake pans with parchment paper and grease the edges. This step ensures a clean release and a uniform rise. The oven should be fully preheated before the batter goes in—otherwise, the cake will rise unevenly.
- Dry Mix the flour, cocoa, baking powder, baking soda, and salt in a large bowl. Whisk them together until the mixture is light and airy. This dry blend ensures the leavening agents are evenly distributed. I love to sift the dry ingredients to keep the batter smooth.
- Wet Blend in a separate bowl: eggs, milk, oil, vanilla, and the boiling water. Beat them together until the mixture is glossy and the water is fully incorporated. The hot water is the game‑changer that deepens the chocolate flavor. If you’re nervous about the water, keep it at a gentle simmer, not a rolling boil.
- Combine the wet mixture into the dry mixture. Stir gently with a spatula until just combined—no overmixing. The batter should be thick but pourable. Overmixing will develop gluten and make the cake tough.
- Add Chocolate Chips to the batter if you’re using them. Fold them in gently to avoid breaking them up. The chips add pockets of melted chocolate that give each bite a surprise burst. If you prefer a smoother cake, you can omit the chips entirely.
- Bake for 25–30 minutes. The cake is ready when a toothpick inserted in the center comes out clean or with just a few moist crumbs. The edges should pull away slightly from the pan. Keep a close eye on the top—it should develop a deep, dark brown without burning.
- Cool the cakes in the pans for 10 minutes, then transfer them to a wire rack to cool completely. This cooling period allows the cake to set and the flavors to meld. A quick cool-down also makes the frosting easier to spread.
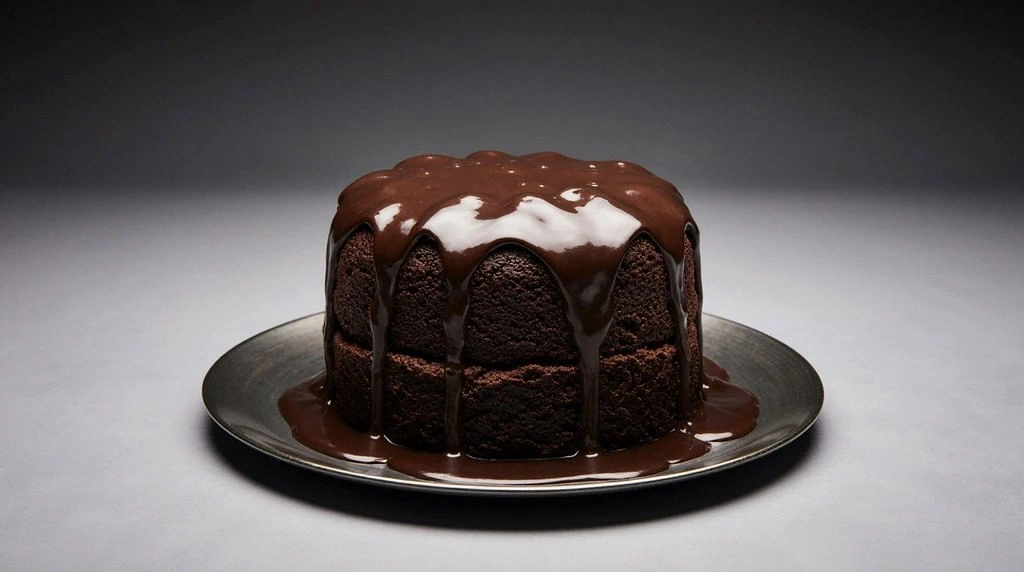
- Frost the cake with the prepared chocolate frosting. Start with a thin crumb coat to seal the cake, then apply a final thick layer. The frosting should be glossy and spread smoothly. If the frosting is too thick, add a teaspoon of milk to thin it slightly.
- Decorate as desired—sprinkling extra chocolate shavings, a dusting of cocoa powder, or a drizzle of espresso glaze can elevate the presentation. Let your creativity shine; this cake is a blank canvas for your dessert artistry.
That’s it—you did it. But hold on, I’ve got a few more tricks that will take this to another level…
Insider Tricks for Flawless Results
The Temperature Rule Nobody Follows
Many bakers bake at 350°F, but a slightly lower temperature of 340°F can prevent the cake from drying out while still ensuring a good rise. I’ve found that baking at 340°F gives a slightly darker crust and a moister crumb. If you’re using a convection oven, reduce the temperature by 25°F to compensate for the fan’s efficiency.
Why Your Nose Knows Best
As the cake bakes, the aroma will shift from sweet to a deep, nutty chocolate scent. Trust your nose—when it smells toasty and slightly burnt, you’re at the peak of flavor. A quick sniff test can save you from overbaking and a dry cake.
The 5‑Minute Rest That Changes Everything
After removing the cake from the oven, let it rest in the pans for exactly five minutes before turning it out. This brief rest allows the cake’s structure to set, preventing cracks and making it easier to handle. A friend once tried to remove the cake immediately and ended up with a cracked, uneven surface.
Use a Light Hand on the Frosting
When spreading frosting, start with a thin layer to seal the cake, then add a second thicker layer. This two‑step approach prevents the frosting from sliding off and ensures a neat finish. If you’re frosting a multi‑layer cake, make sure each layer is level before adding the next.
Keep the Cake Moist with a Simple Trick
If you’re storing the cake for a day or two, cover it with parchment paper and a layer of plastic wrap. The parchment keeps the cake from drying out, while the plastic wrap prevents it from absorbing odors from the fridge.
Finish with a Dusting of Cocoa
A light dusting of unsweetened cocoa powder over the finished cake adds a visual pop and a hint of bitterness that balances the sweetness. Use a fine sieve to avoid clumps, and apply the dusting immediately before serving to keep it fresh.
Creative Twists and Variations
This recipe is a playground. Here are some of my favorite ways to switch things up:
Chocolate Chili Surprise
Add a pinch of cayenne pepper or a teaspoon of cocoa‑spiced chili powder to the batter. The heat pairs beautifully with the chocolate, creating a warm, spicy finish that’s perfect for autumn gatherings.
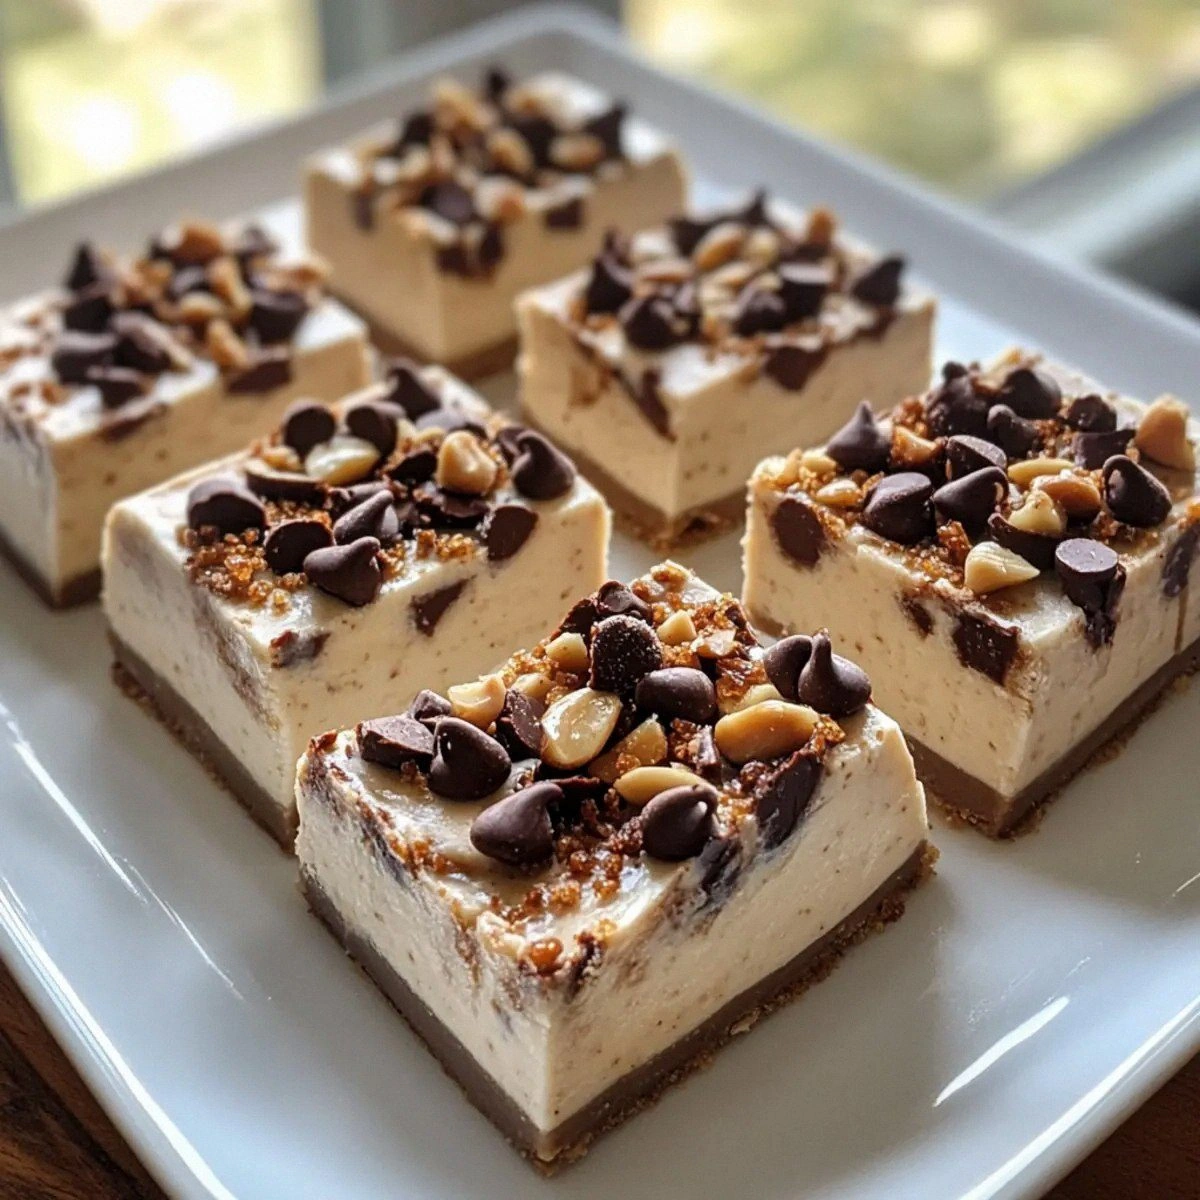
Almond Joy Layer
Swirl in a half cup of toasted almond butter into the batter before baking. Top the cake with crushed almonds and a drizzle of caramel sauce for a dessert that feels like a slice of the candy bar.
Red Velvet Twist
Replace half the flour with all‑purpose flour and add 2 tablespoons of red food coloring. The result is a stunning red cake with a subtle chocolate undertone, ideal for celebrations.
Mocha Madness
Replace the vanilla extract with an equal amount of espresso or cold brew concentrate. The cake gains a coffee‑chocolate depth that’s irresistible to mocha lovers.
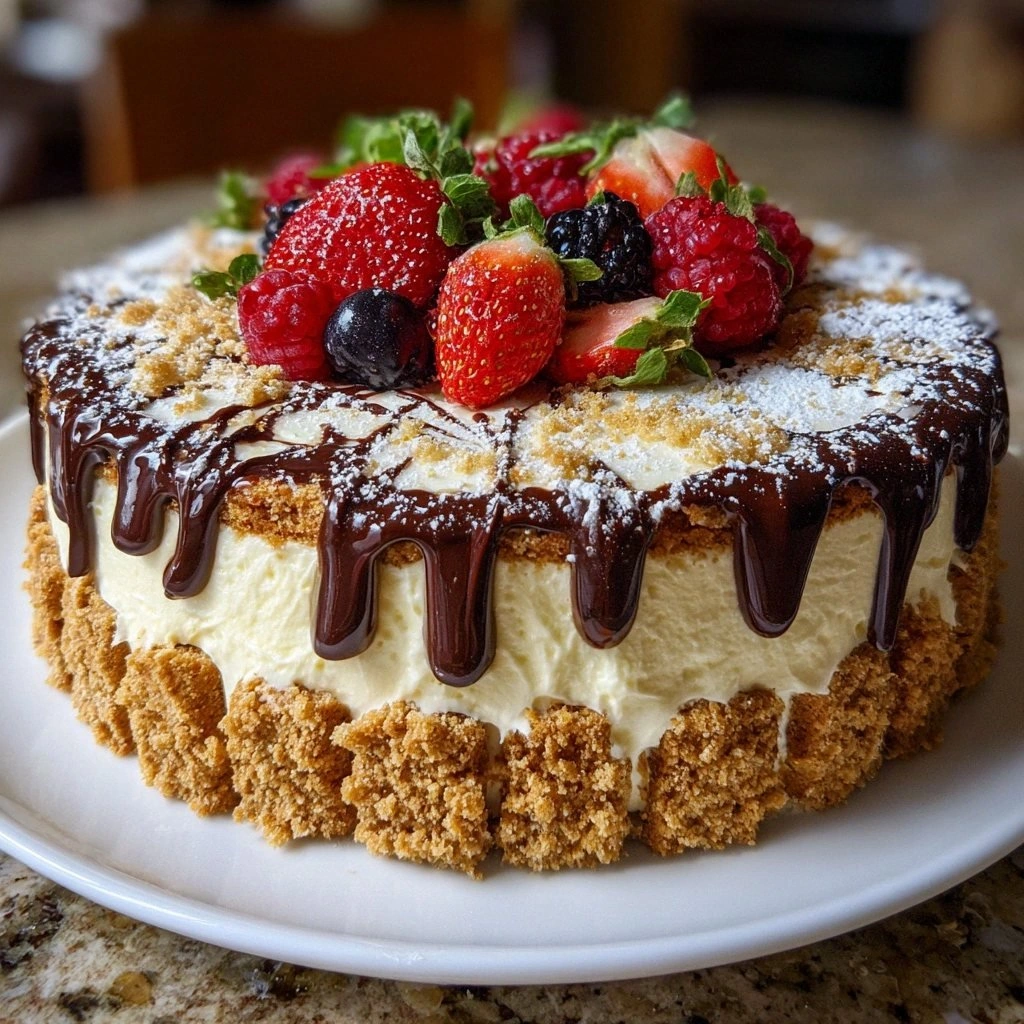
Raspberry Rapture
Fold in a cup of fresh or frozen raspberries before baking. The berries burst with flavor, adding a fruity contrast that brightens the chocolate’s richness.
Vegan Version
Use a plant‑based milk, replace the eggs with flaxseed meal or applesauce, and swap butter for coconut oil. The texture remains moist, and the chocolate flavor stays intact.
Storing and Bringing It Back to Life
Fridge Storage
Store the frosted cake in the refrigerator for up to three days. Keep it in an airtight container or wrap it tightly with plastic wrap to preserve moisture. The cake will stay fresh and the frosting will remain smooth.
Freezer Friendly
For longer storage, freeze the cake in an airtight container or freezer bag for up to two months. Thaw overnight in the refrigerator before serving. The cake’s texture remains tender, and the chocolate flavor stays vibrant.
Best Reheating Method
Reheat the cake in a preheated oven at 300°F (150°C) for 10 minutes, or until the frosting is pliable. Add a tiny splash of water to the bottom of the pan before reheating to create steam, which helps keep the cake moist and restores the crumb’s softness.